
In this article, you’ll learn:
There’s so much that goes into creating an e-commerce website that sells products like hotcakes — and product photography lies at the helm of it. Studies by Justuno revealed that 93% of consumers consider visual appearance to be the key deciding factor in a purchasing decision. Product photography also:
- Helps your potential customer understand the product better
- Gives you a chance to stand out from your competitors
- Boosts SEO efforts by getting listed on shopping feeds
- Minimises pre-sale inquiries
- Elevates brand image
Clearly, good product photography leads to a better ROI and happy visitors.
Here’s a beginner’s guide to eCommerce product photography. From what equipment to use to the what background, we walk through everything.
1. Choose your gear: Smartphone or a DSLR Camera?
Smartphone
If you happen to have a high-end smartphone, you don't necessarily have to invest in an expensive DSLR camera. Today smartphones are equipped with advanced features that can capture good-quality images. Be sure your phone's camera should be 12 MP or more.
- Get the right accessories: To capture sharp and stabilized images, a tripod is a must-have alongside your smartphone. You can opt for a mini tripod or a large tripod depending on how small/large your product is. Other must-have accessories are additional lenses (for a macro view) and a Bluetooth remote for mobile photography (to avoid blurry images caused by shaky hands).
- Install relevant mobile camera applications: Third-party apps give your smartphone an extra edge, and you can capture DSLR-like photos. Camera apps capture in RAW or JPEG formats which is useful if you intend to edit your photos on your desktop or laptop. Few apps worth considering are VSCO, Lightroom, ProCamera (ios), and Camera FV-5 for Android. Familiarise yourself with the apps before you proceed to shoot your product photos.
Do’s and don'ts
- Avoid flash, digital zoom, and filters.
- Shoot in RAW if you want to edit on the computer, and shoot in JPEG format if you plan to edit the picture on your phone
- Turn on the grid and level
- Tap on the screen for better focus
- Choose auto white balance
- Adjust exposure as per your requirement
- Activate image stabilisation
Takeaway: If you have just started off and wish to use the technology you already use, then a smartphone is the right choice. Moreover, with a smartphone, you can capture, edit, and share your product photography photos right from your phone and save time.
DSLR camera
Smartphones are great, but they still don’t stand a chance against the level of precision and control a DSLR camera provides. You can find a good number of budget-friendly DSLR cameras that capture high-quality professional product photos.
Get the right accessories: A DSLR camera requires more accessories as compared to a smartphone. For example, a fast prime lens, tripod, remote shutter release, polarising filter, spare batteries, memory cards, memory card reader, and lastly a camera strap (neck, shoulder, or wrist).
- Set up your product and shoot for edit: This mindset helps you click photos that require minimal editing.
- ISO and aperture: Keep the ISO as low as possible and the aperture as high as possible
- Shutter speed and camera mode: Aim for a slow and a steady shutter speed and go with manual settings in camera mode.
- Image format, focus, and white balance: Capture your photos in RAW format, and keep your focus and white balance automatic
- Editing tools: DxO PhotoLab, Adobe Lightroom, Photoscape X, and Portrait Pro are great editing tools to enhance your images and make them upload-ready.
Using a DSLR camera might be difficult at first. Either you can hire a professional or take up a session to learn the basics of photography and editing.
Takeaway: If you have a significant number of photos to be taken, and you want total manual control and a dedicated rig for all your brand’s visual elements, then a DSLR is a good choice.
2. Lighting: Go all-natural or set up a studio?
Lighting is a tricky part of product photography; you can either go the route of setting up a full-fledged studio or opt for an all-natural lighting setup. If your product is meant for outdoor use, it’s ideal to go for an outdoor shoot with natural lighting. In other cases, you have both options available.
Tips for natural lighting
Natural lighting is either a friend or a foe. If you get it wrong, no amount of editing can save your product.
Make sure you have a diffuser (or tissue paper) and black and white cards as reflectors (foam core works as well) before you head out into nature.
Find the right space. Look around to gauge what place would be the perfect space, ideally, it should have good lighting and is also aesthetically pleasing. A good headstart is to click by the windows. If your product is relatively small, opt for apertures like f/16 to create a proper distinction between the background and the product.
Let’s explore some basic do’s and don’ts to capture your product beautifully in natural lighting.
Do’s
- Capture your photos at the brightest time of the day like late mornings or early afternoons. Golden hours are great too.
- Understand where the shadows fall; to make sure no part of your product is hidden by shadows.
- Take all the photos at the same time to ensure consistent lighting. However, you can always edit and adjust the color tones.
- Make sure the product is the center of attention
Dont’s
- Avoid placing product behind the source of light
- Do not let harsh sunlight directly fall on the product, weaken it by using a diffuser
Tips for artificial lighting
Artificial lighting provides more control and ensures consistency. You can change lighting for different shots, and add dramatic shadows to bring out the product details better.
- Off-camera lights: Lights that aren't attached to your camera are off-camera lights. You should set up at least 2 of these. Strobes or speedlites are good examples of off-camera lights.
- Add in light modifiers: Modifiers soften, spill, and disperse the lights for a more composed setup. Umbrellas are perfect for this.
- Strategic placement of lights: How you place your off-camera lights matters a lot. Good practice here is to make sure one light is 45 degrees behind your products, and the other in the front at the same angle. Lights must be placed up high and point downwards. Doing so reduces the shadow's length. Another tip worth noting is to keep the backlight relatively brighter than the front light. This ensures that the product is perfectly illuminated, and stands out.
3. Stand out with background colors
Choosing the right backdrop can feel like a daunting process since there are so many ideas to be explored. A basic rule you can go by is to ensure that the background perfectly complements the product, and doesn't distract the viewer. If the background of your photographs does not completely complement the product, you may use a background remover to quickly remove the background from your images and replace it with one that does.
- White backgrounds: You can never go wrong with a white background. But if it doesn't align with your brand’s overall identity, and you are up for some creative experimentation you might want to tweak it as per your liking.
- Solid colors: Grey, and beige have a low impact and feel neutral. That way your product becomes the center of attention is the safest way to nail product photography.
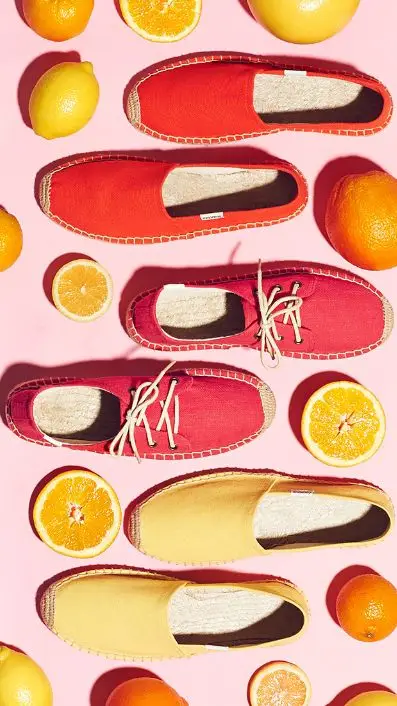
- Blend of quirky elements: Add in quirky colors, and elements to create an abstract look. It is likely that a visitor will stay a bit longer on your product page if the visuals are out-of-the-box and feel good.

- Vinyl background: Great for food photography. You can also opt for balck backgrounds for the same.
- Brick wall: Depending on your product, a brick wall can add a lot of vintage vibes to your product. A white brick for instance wall is perfect to present desserts, self-care products, or apparel. On the other hand, natural brickworks are a great backdrop for products that are used outside, like bicycles.
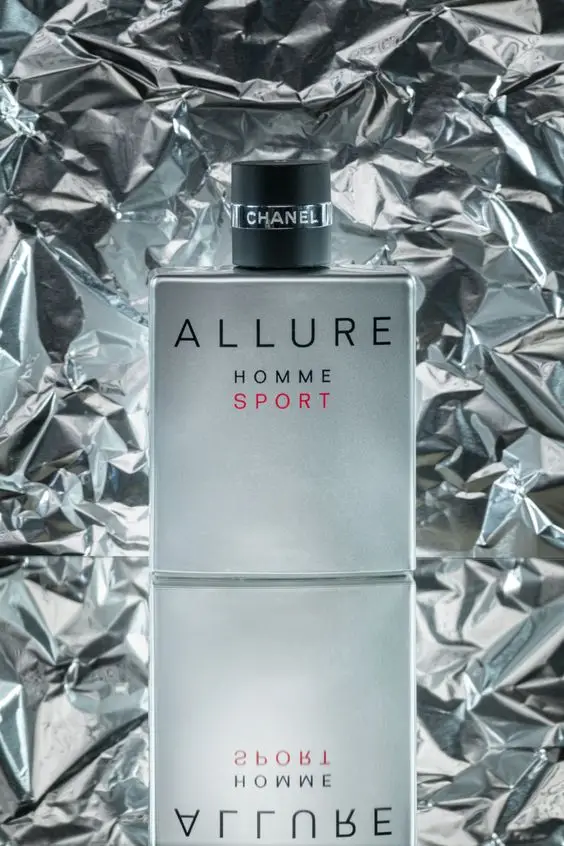
- Tinfoil: Probably one of the most stunning and glitzy textures you can create in no time.
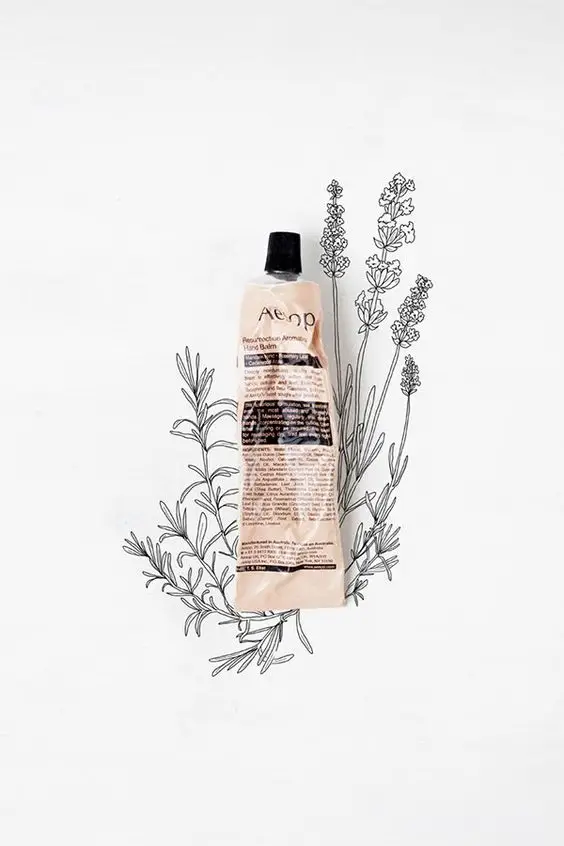
Playful illustrations: Go a notch higher by adding illustrations to your product photography to give it a more youthful look

Paper backgrounds: Looking for a low-budget and quick backdrop? Go for paper backgrounds. Newspapers, colorful papers, and baking papers are great to capture your photos.

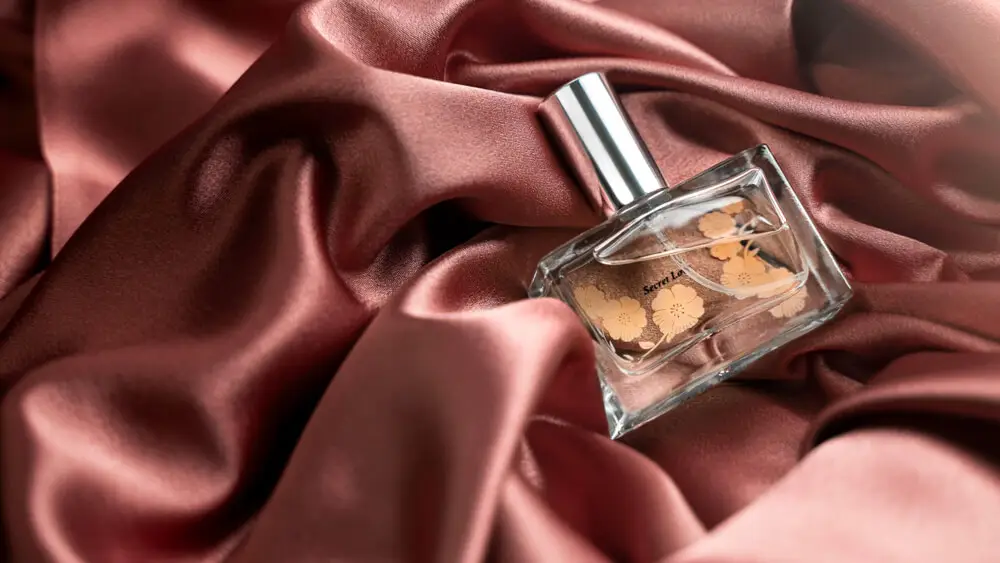
- Fabric background: Fabrics add a great addendum too. Ideally muslin cloth is best for this purpose. However, you can experiment with other types too.For example, a seersucker suit is an excellent choice for warmer climates, offering a lightweight and breathable fabric with a unique textured look. Its classic appeal makes it perfect for both casual and formal occasions.
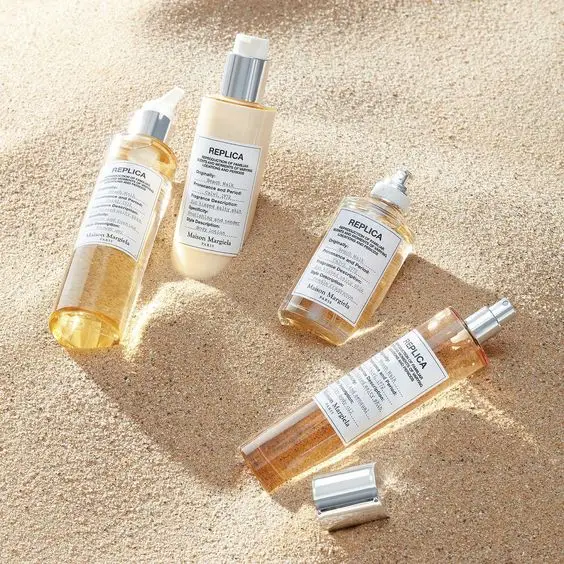
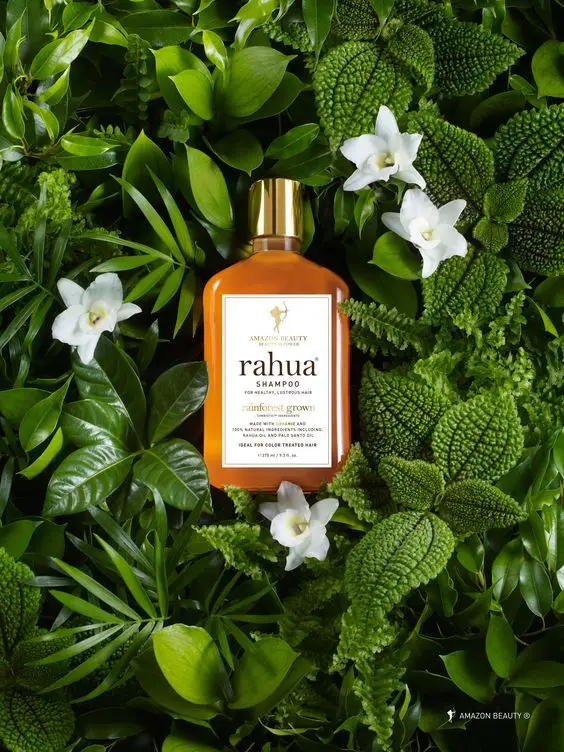
- Greenery: Nature is refreshing, and makes for a stunning backdrop for beauty and self-care products.
Ecommerce product photography best practices
- Image size, format, and aspect ratio: Recommended size is 2000 x 2000 pixels to make sure images can be viewed seamlessly across all devices. In the case of formats, you can opt for PNG, TIFF, JPEG, JPG, and BMP. The suggested aspect ratio is square (1:1)
- Editing tips: Make sure the product photo looks the same as how it would look in person. Overly enhanced images can be misleading. Make sure the lighting looks professional
- Number of images per product: At least 4 images are a must. Depending on your product types of images you can capture are- the main image, mobile-ready hero image, detailed shots, package shots, features and benefits, trust symbols, lifestyle photos, showing the scale of photos, group shots, and instructions photos.
- File size: Aim for the smallest file size as it loads faster.
- Negative space: 50%
Did you enjoy this article? Give Pics.io a try — or book a demo with us, and we'll be happy to answer any of your questions.
Author

Piyush Shah is a 6 figure affiliate marketer and has helped grow multiple businesses from nothing to making insane business figures. He is currently working as Head of SEO at Dukaan.


