
In this article, you’ll learn:
One of the benefits of cloud storages is the possibility of editing files as a team. This saves time, reduces errors, and allows everyone to contribute to the final result. But all advantages have their downsides.
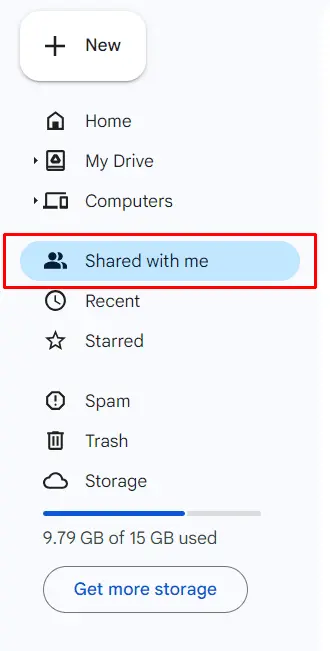
In Google Drive, all shared files are displayed on the Home page and in a special folder called Shared with Me. As their number increases, they clutter up both sections, making it difficult to find the digital assets you need. So the more projects you manage, the more files accumulate, the longer it takes to find the necessary material, and the lower your productivity becomes. This is a serious problem for both employees of large companies and freelancers.
Fortunately, there are effective methods that can help improve the situation quickly. Let us show you how to organize shared files in Google Drive.
Understanding "Shared with Me" in Google Drive
Actually, it's fairly simple. Shared with Me is a special folder that contains digital assets of other users that are available to you. It differs from the Home page as it doesn't contain files from your cloud storage (My Drive). By opening Shared with Me folder, you can quickly find shared documents.
As a reminder, there are three levels of permissions in Google Workspace:
- Viewing;
- Commenting;
- Editing.
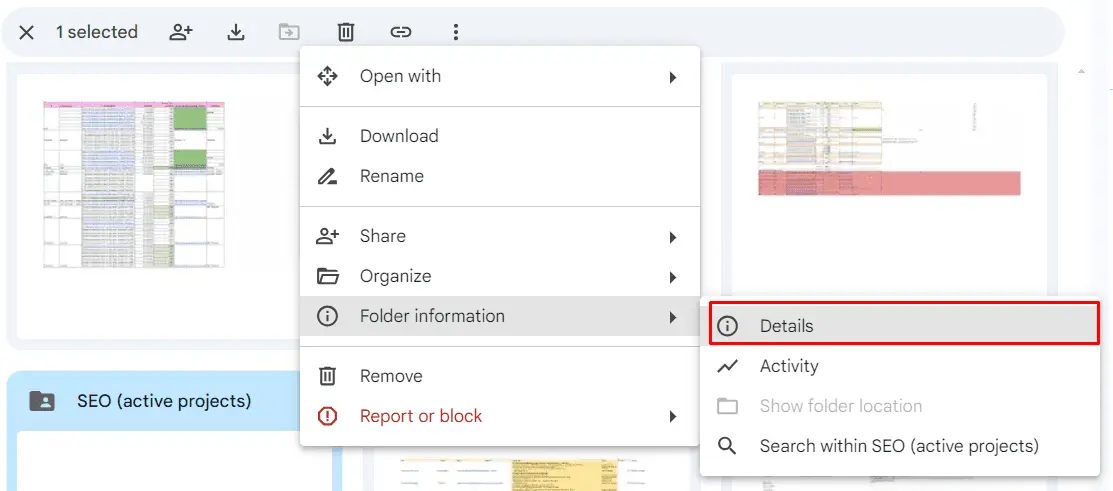
The document owner can also prohibit its upload to local storage and further distribution to maintain confidentiality. They can open access to shared documents for everyone, certain workgroups, or even specific users. If you need to see to whom a file is shared, click on the three-dot button in the upper right corner of the icon, go to File/Folder Information section, and select Details.
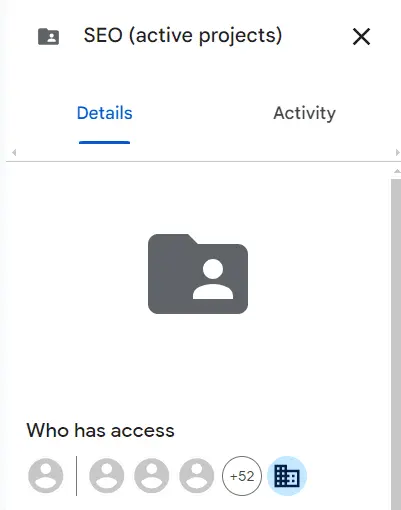
Details tab shows all the participants in the workflow and the comments they left. Activity tab shows the last changes in chronological order.
It's very convenient to collect all your shared documents in one folder. But over time, the situation gets much worse. Most users complain about the difficulty of finding the materials they need because of the following problems:
- A large number of projects. This scenario is especially relevant for SEO companies, marketing agencies, and contractors.
- Sharing unnecessary files. Friends may share their books, digital drawings, or game screenshots with you. It's very nice, but a large number of such documents can be a nuisance.
- Imperfect structure of work groups. Sometimes, digital asset owners grant access to anyone who may be even slightly related to these documents. You may not be directly involved in editing the document, but you will see it in Shared with Me folder.
Strategies for Managing "Shared with Me" Files
There are many ways to declutter your shared folder. We'll start with the easiest ones and gradually move on to expert tips.
Switch from Grid Layout to List Layout
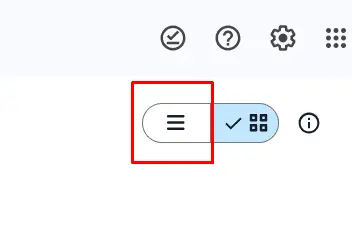
By viewing all your digital assets in a list instead of a grid, you can fit more files on one screen. In addition, you will see their authors and will be able to sort documents by the date they were last modified.
The instructions are as simple as the method itself. Find the layout buttons in the upper right corner and click on the left one.
Use Stars
- How to organize files shared with me in Google Drive if they're all important, but I only use a few documents regularly?
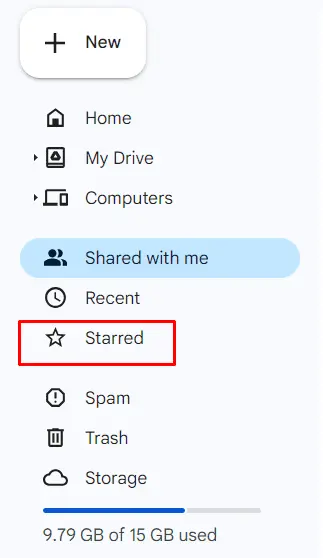
- Mark them and add them to Starred folder accessible from the main cloud storage menu on the left.
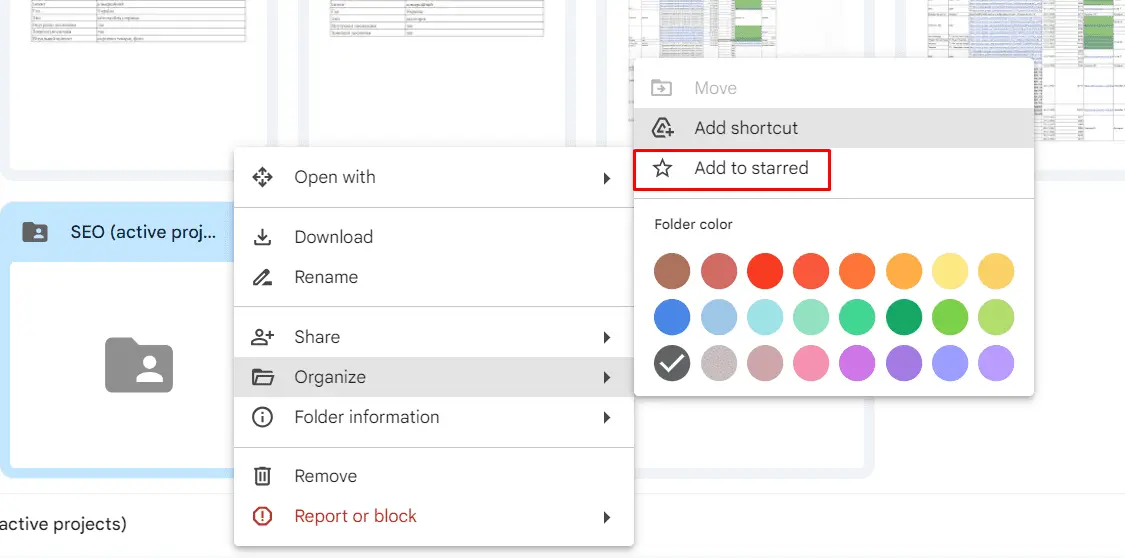
Follow the simple steps:
- Select file or folder you want to add.
- Click More Actions button (3 dots).
- Go to Organize section.
- Click Add to starred.
Add Shortcuts to My Drive
This method is very similar to the previous one. The main difference is that you determine in which folder the documents will be located. Remember that a shortcut is not a full-fledged copy of a file but only a link to it. When you create a shortcut, you do not move digital assets, change their owners, or disrupt their version history.
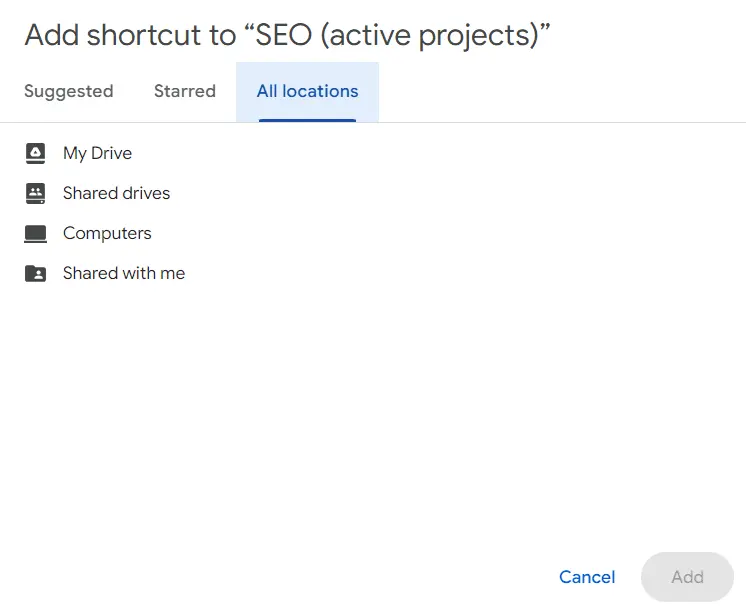
The instructions are almost the same as in the previous section:
- Select desired file or folder.
- Click More Actions button (3 dots).
- Go to Organize section.
- Click Add Shortcut button.
- Select the folder where the shortcut will be located.
- Click Add.
Save Files to Your Drive/Computer
If you're sure that the file is shared only with you and no one else will make changes to it, you can copy it to your cloud storage. When you're done, you can share the finished document with the first owner. You can also save files to your PC to free up space in the cloud. This is especially useful for archiving old projects that are currently unnecessary but can be used for training or to review performance.
You have three ways to keep the document for further editing. Find the file, click More Actions button, and choose one of the 3 options:
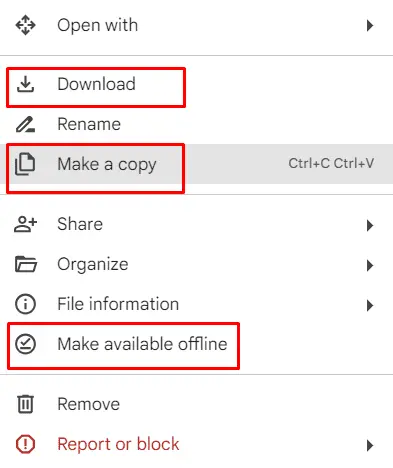
- Make a copy — to paste the document into any folder in your cloud storage. You can then work with it in Google Drive for Desktop app.
- Download — to save it to your device.
- Make available offline — to edit the document without internet access. When the connection is restored, the document will be automatically updated in a shared drive.
Delete Unnecessary Documents
Have you finished your work and submitted all the materials? Are you sure that digital assets were shared with you by accident? Just delete them from Shared with Me folder. Please note that if you are not the file's owner, deleting a file will not make it disappear completely. You'll just stop seeing it in Shared with Me folder. A file will reappear there if you open it or the owner decides to share the document again.
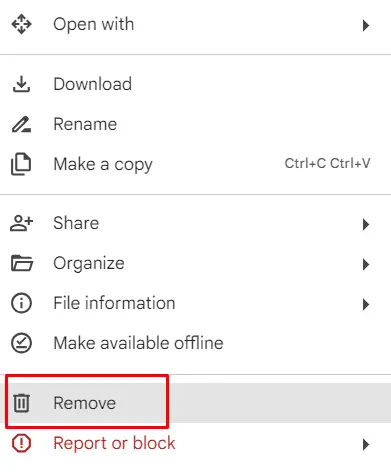
The deletion instructions are as follows:
- Open Shared with Me folder.
- Find the file you don't need.
- Click More Actions button.
- Click Remove.
Previously, we also talked about how to delete duplicate files in Google Drive. A brief guide will help you free up disk space.
Remove Yourself From Shared Files on Google Drive
Are you sure you've accidentally been added to the list of editors or commenters? Fortunately, you can easily fix this problem. You can do this as follows:
- Find the file you need.
- Click More Actions button.
- Go to File Information section and select Details.
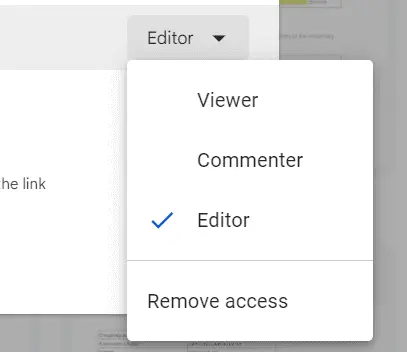
- In the window that opens on the right, click Manage Access.
- Find your account and click the role displayed on the right.
- In the dialog box that appears, select Remove.
After completing these steps, the file will disappear from Shared with Me folder. But keep in mind that you won't be able to access it.
If someone is disrupting your workflow with a huge amount of unwanted content, solve this problem once and for all. Prevent this account from sharing digital assets with you. Follow the steps below:
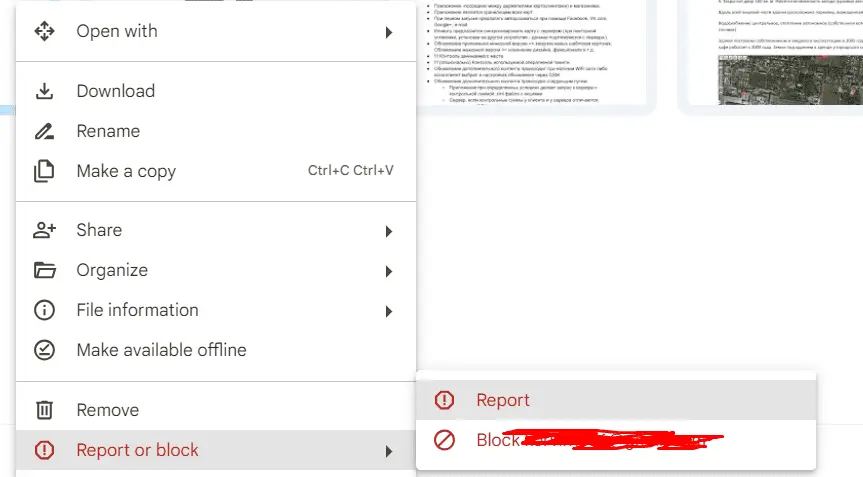
- Find the file shared by this user.
- Click More Actions button.
- At the bottom, select Report or Block.
- Make sure that it is the account that shared the file.
- Click Block.
If you blocked a user by mistake, you can undo this action later in your Google account settings.
Use Digital Asset Management (DAM) System
Digital asset management for Google Drive helps you better organize and sort your files. Pics.io DAM works on top of Google Drive and extends its functionality. If you're wondering, how to organize shared with me files in Google Drive, Pics.io offers the following features:
Conclusion
Organizing the files shared with you is a vital process that is often overlooked. It improves productivity at the individual and business levels by reducing the time and effort required to find the right digital assets. And the organization tips are straightforward - you can achieve tangible results by switching the layout or marking files with stars. It's also important to learn how to manage access rights and create shortcuts for documents.
Did you enjoy this article? Give Pics.io a try — or book a demo with us, and we'll be happy to answer any of your questions.


