
In this article, you’ll learn:
By 270% is how much Pics.io DAM could improve your search results, according to our recent survey. By 300% is how we could improve the distribution and sharing of your digital content.
Want to get started with Pics.io Digital Asset Management, but have doubts whether it’s worth it? Are you one of those who still believe that adopting DAM is challenging and time-consuming?
Let us convince you that you can set up your own DAM in less than 30 minutes. With this post, we’ll guide you through all the steps of creating your Pics.io media library. Look through the article, and you’ll also find answers to the most typical questions, along with a few DAM best practices.
Step 1. Getting registered with Pics.io DAM
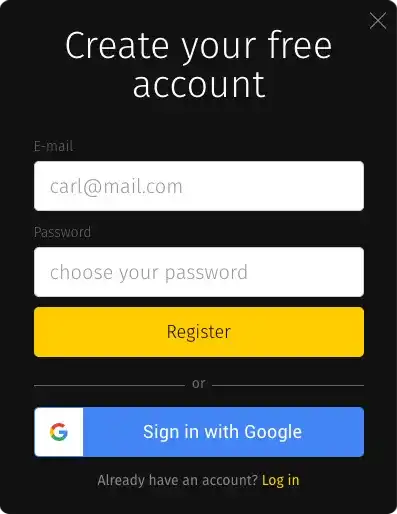
The registration process in Pics.io is very quick and easy. It won’t take you more than 5 minutes to complete it. After you click Register on the Pics.io Home Page, all you need to do is to type in your email address and set up a password for your future Pics.io account. You don’t have to give any contact information, credit card details, or your company name. None of this, but your email.
And if you’re a loyal customer of Google products (as our Pics.io team is), registration will go even smoother for you. Just connect to your Google+, and we’ll create your Pics.io account automatically. Voila, and you’ve already become a Pics.io user.
Step 2. Choosing storage

Just a month ago, Pics.io positioned itself as a DAM working exclusively on top of your storage. This means that you and only you were responsible for the choice, adoption, and maintenance of your storage. And this option is still present.
The situation has changed when we added our own Pics.io storage. We wanted to give you more freedom of choice (and a chance for a fully-fledged DAM solution). Thus, let’s explain all storage options here.
Option 1: Pics.io on top of your storage
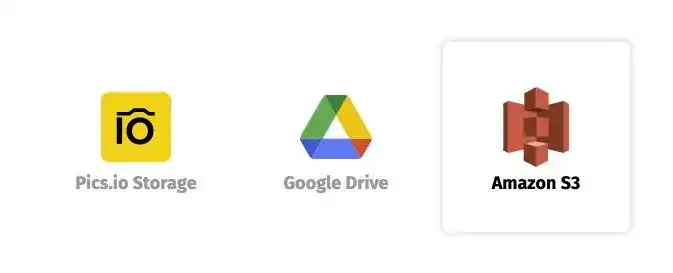
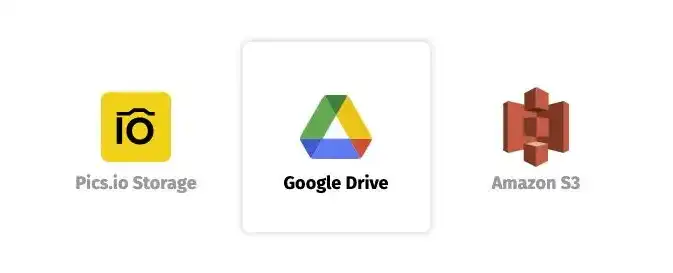
This is the Pics.io we’re all used to. For years, Pics.io has worked on top of Google Drive or Amazon S3. And so if you’re already managing one of these storage solutions (or planning to sign up), you’d better go with one of these.
Of course, it’s up to you to decide whether you prefer easy-to-go and good, old-fashioned Google Drive or you’d better go with scalable and cheaper Amazon S3. The only thing we can do is to give a few tips on the benefits of two storages. And keep you posted on choosing the most optimal pricing.
In practice, having separate storage brings a lot of value to you and your business. For one thing, you’re the only one who has access to your assets (but also who bears responsibility for them). For another, this so-called pret-a-porter solution is a lot cheaper than traditional DAM tools. The reason is that it doesn’t include storage development and maintenance in its pricing. Besides, you must have already been using some cloud storage, so why pay twice for it?
Think about other opportunities you might get. With Pics.io, your DAM is the safest and most secure as possible. Your files are in full responsibility of Google Drive or Amazon S3 instead of some unfamiliar third-party solution. Plus, you also benefit from the ease of use, effortless set-up and implementation.
Option 2: An all-in-one DAM solution (Pics.io storage + DAM)
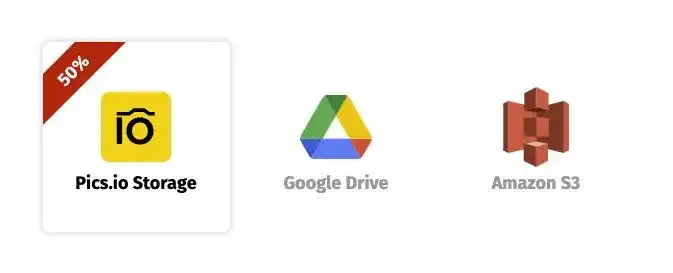
This is a more traditional DAM software which includes storing and managing your assets. We launched our own storage when we noticed that not all our prospects wanted to go into the trouble of configuring their storage and connecting it to DAM.
The situation worsens if the company doesn’t have any storage at all. And their files are scattered all around: on local computers, different cloud storage, and hard drives. In this scenario, adopting DAM is like finishing a quest. First, the company has to choose and launch storage. Then, set it up, teach a team, connect it to DAM, etc., etc.
It’s all much simpler if you choose Pics.io DAM storage. In a minute, you get an all-in-one DAM solution, with 20 GB presented to you for free & not less secure and reliable storage.
So choose whichever storage you like better Google Drive, Amazon S3, or Pics.io Storage) & proceed with the next steps!
Step 3. Connecting storage
For Google Drive and Amazon S3 users
If you opted for external storage, you need to connect it to Pics.io. You have two alternatives here, depending on your needs and preferences.
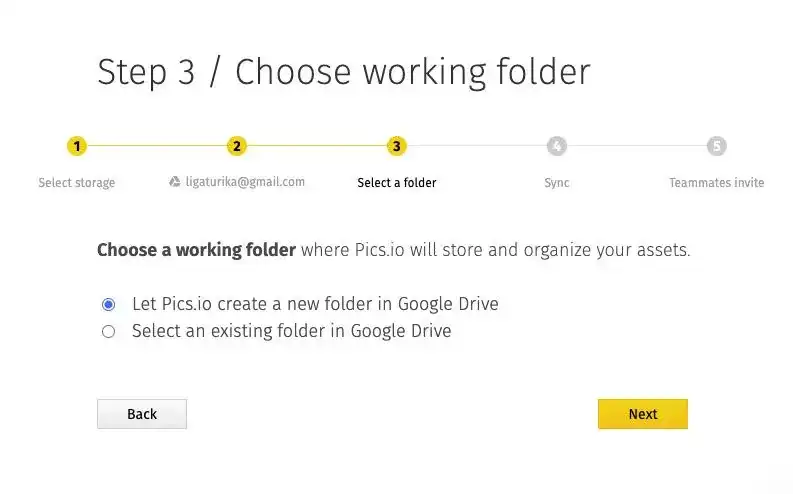
The first option is to choose a working folder in your Google Drive or a bucket in your S3 account. It doesn’t matter whether it’ll be an existing folder/bucket or a new one. Just remember that this will be your one and only working folder/bucket in Pics.io.
To put it differently, all the files you work with inside your DAM will be safely stored in this folder/bucket.
Your second option is to set up a new email account and use it for logging in at Pics.io. When you connect a Google Drive folder in this case, no one will have access to your materials. All the interaction will occur through Pics.io exclusively.
From our own experience, this solution suits best for large enterprises and/or those who care most about the security of their assets. For example, these could be companies working with very sensitive client info. The management wants to make sure that employees won’t leave with important data whenever they call in sick, go on vacation, or quit.
For Pics.io storage + DAM users
With Pics.io storage, your action plan is shorter. No need to connect any folders or make big decisions whether to create new storage or use the current one.
By default, we choose a region that is the closest to you. Keeping your files nearby allows you to reduce waiting time to access materials. It also helps to cut costs and improve storage performance in general.
Step 4. Uploading files to DAM
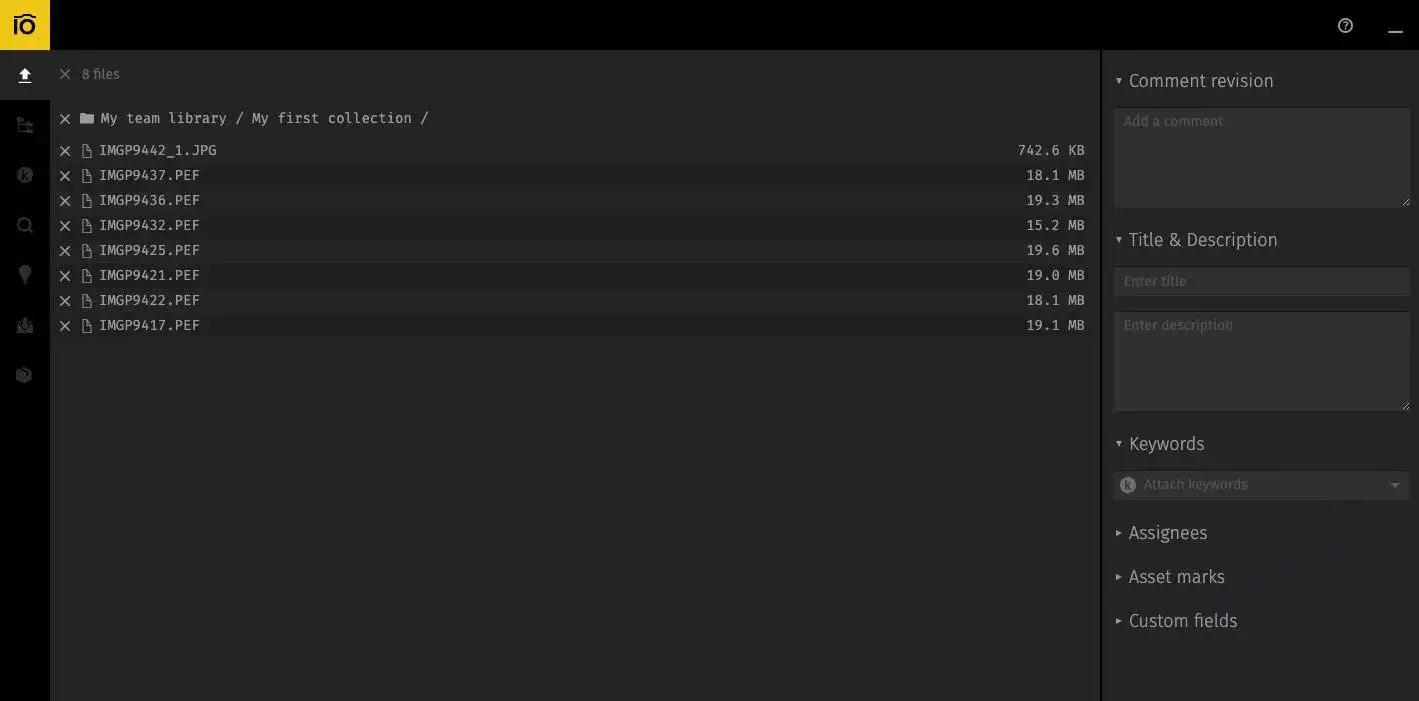
Once you set up the storage, it’s high time to upload your assets to DAM. Remember that Pics.io has no access to your files, and it falls on you to add assets to your storage.
Still, there are lots of ways to bulk-upload your materials. If external storage is your chosen option, you can use our guides on uploading files to Google Drive and Amazon S3.
Alternatively, Pics.io storage users can take advantage of our data migration tool.
Pics.io migration service works perfectly to transfer files from one cloud storage to another. It’s quick, secure, & doesn’t require any effort on your part. What’s more, it’ll move not only your assets but metadata, keywords, file descriptions, and so on.
Step 5. Syncing files
This step is only for Google Drive and Amazon S3 users who would have to synchronize the files with Pics.io once they uploaded them.Pics.io storage users do nothing :)
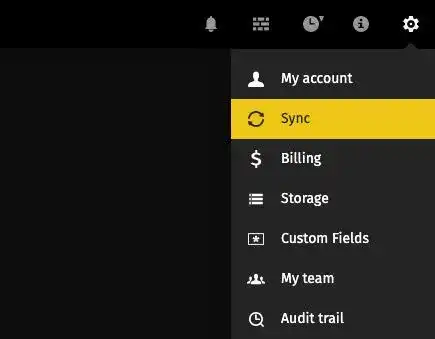
Know that Pics.io has two types of sync – manual and automatic. Manual sync happens whenever you click the Sync button in your Settings menu. (Google Drive users will also find useful our auto-sync feature. This works as automatic synchronization of your library with the Pics.io account at regular intervals.)
Regardless of the sync method used, Pics.io will then mirror the directory tree structure in your Google Drive or Amazon S3 bucket. And so you can move to the next step - adding teammates to your DAM.
Step 5. Setting up roles and permissions
But before you start inviting your colleagues, you need to prepare your library by defining exact roles and permissions in your DAM storage. This will contribute to the safety and security of your DAM as you could control and differentiate access to your files.
Moreover, Pics.io user roles allow you to impose more structure on your library. Everyone in your team will have access to only those assets that they need for their work. And just so you know, our DAM user roles completely stand aside Google Drive sharing settings. So you don’t have to configure them separately, being afraid that they will block any action on Pics.io’s side.
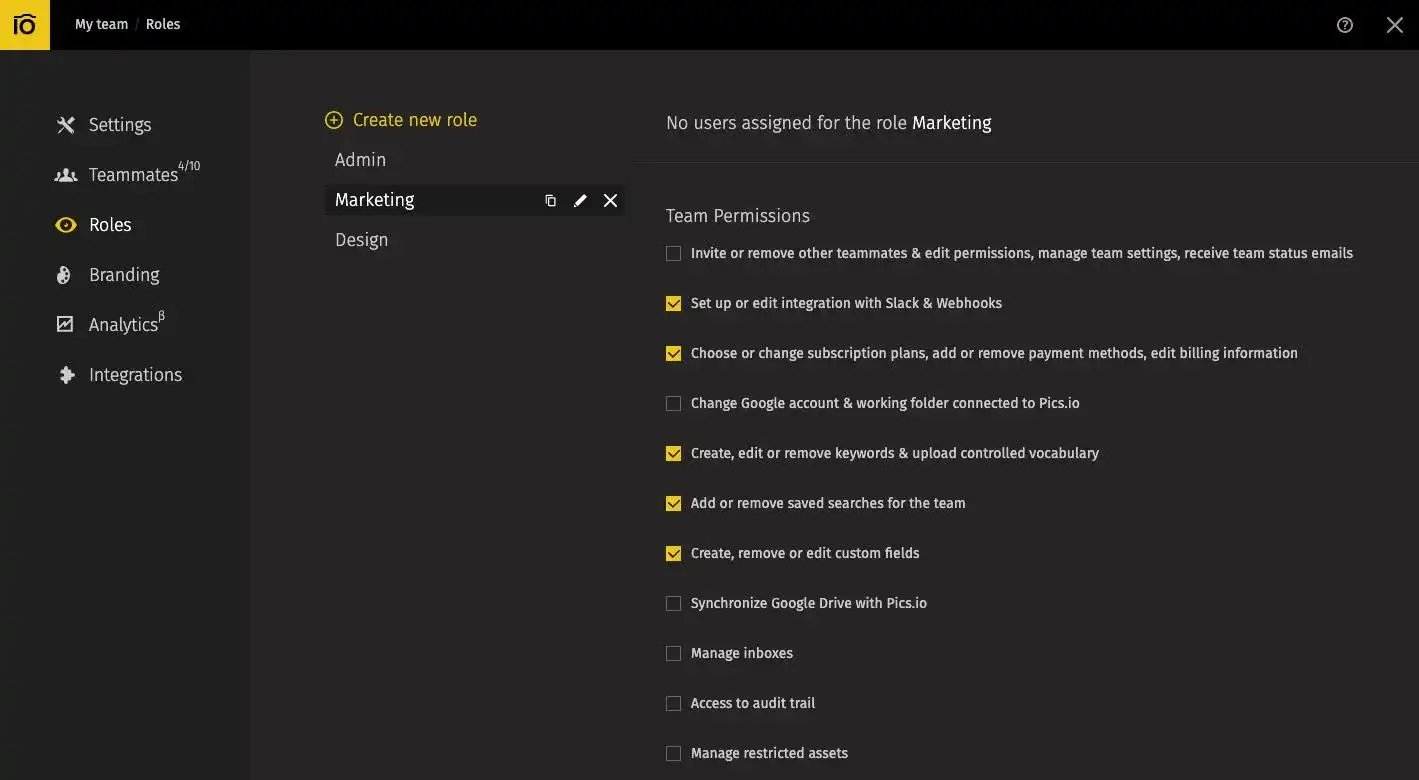
In each role, you set up two levels of permissions: team and collection. The first type is team permissions that work across the whole account and deal with some serious stuff like who gets to manage billing or storage. The second type is about access to separate collections within your storage.
For example, your marketing team would have access to marketing materials and maybe designer files too. But it's unlikely that they might need access to your documentation and test files.
Here are a few traditional DAM user roles you might want to create to control how teammates interact with your repository:
- Administrators with full control over a Pics.io account, including teammates and media library;
- Regular DAM users who put DAM to its most intended use, such as storage, access of files, distribution, and download;
- Guests whose rights are limited to viewing and/or downloading assets only.
Last but not least, remember that your roles and permissions are not set in stone once you created them. Any time, you can go to your settings and adapt them – change, add, delete and see how they fit into your workflow.
Step 6. Inviting teammates
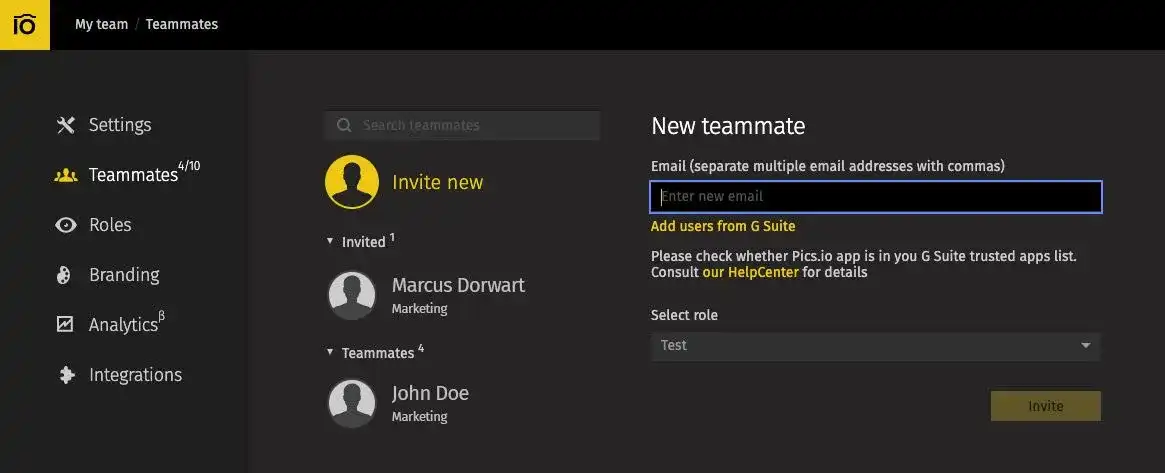
Finally, you’re ready to invite colleagues to your newly created DAM workspace. It shouldn’t be a problem too. Just enter the email, choose the role, and click Invite.
Of course, you don’t have to send an invitation to each of your teammates manually. There are at least two methods to speed it up. For example, you can set up an automatic teammate invitation by entering your company domain name.
As an alternative, use a branded signup page. And your teammates will join DAM in no time through a special link invitation.
By the way, you have a chance to invite teammates during the very first steps of getting started with Pics.io. After you configure your storage, and the sync is finished, you send invitations by email or connecting to your Google Workspace account.
A few good practices before you get started with DAM
Set up extra settings
Without DAM, your media library is a total mess. But DAM isn’t a panacea either. You have to teach your teammates how to work with digital assets, keep these organized and secure.
Still, DAM could come in handy to you even here. With Pics.io, you can set up additional requirements for your team to have better control over the library. For example, you can oblige your colleagues to fill in certain fields when they upload assets like title and description. You can also endorse them to add keywords, make comments, set assignees, and so on.
Another good practice is to restrict important assets. With this feature, you keep members of your team out of particular actions about the file. For example, restrict your team from sharing particular assets. So when they try to distribute some sensitive info, they’ll get a warning message.
Choose your keyword strategy
It works best if you define your keyword strategy at the very beginning, so you’ll have time to tag your data before all the rest of your team joins the library. In addition, you’ll instruct your team, and it’ll stick to the same keywording from day one.
Here are a few keyword strategies you have but aren’t limited to in Pics.io:
- Manual keywording – type in all the keywords and create your own hierarchy with keywords, sub-keywords, etc.;
- Auto-keywording – generate all the keywords in a few clicks and save up your time;
- Custom fields – create any types of metadata based on your specific workflow;
- Controlled vocabulary – upload or create a pre-arranged list of keywords and oblige your teammates not to go beyond this list.
But remember you don’t have to choose one particular strategy out of these. You can mix them up to find the approach that suits your workflow. To choose the best approach, think about how you want your end-user to search for content.
For example, you may use the auto-keywording feature to speed up the process. But then add and delete some keywords to refine this list.
Another good strategy is to mix keywords with custom fields. Custom fields work best for more general categories like materials and sizes if you work in the fashion industry. Keywords will go then with more specific issues such as the name of your client or project. And so this works as a grid: you type in “XS, silk, Cartier”, and you find the right asset right away.
Decide on how you organize your files
Again, there are lots of approaches to file organization. But it’s better to choose a single one from the get-go. We recommend consulting this post on project file organization to see all the available options.
In brief, you might want to organize your assets by:
- Clients;
- Dates;
- Statuses;
- File types;
- Requests;
- Deadlines;
- Or by simply tagging your files.
Think whether you need a file naming convention
By its definition, file naming conventions stand for specific frameworks for naming your files. These help you to avoid the mess with your files as well as easily find assets afterward.
But it’s up to you whether to go into the trouble of renaming your assets. Pics.io DAM arms you with enough features to access them easily, independently of naming conventions. So these are just supplementary.
Don't forget to get famliarized with Pics.io list of features to use the DAM platform to its fullest potential.
And so you’re ready to start
And we’re finally finished with our preparation for your Pics.io DAM library. You might spend some time playing around with the strategies in the last point. But seven steps to get started with your Pics.io library shouldn’t take much time.
So do not hesitate to adopt Digital Asset Management. It’s easy, rapid, and very efficient. And you’ll forget about the mess with your digital files once and for all.
Start with our 7-day free trial option to get to know all the tricks and hacks of Pics.io. And if you want to know more about our next-gen asset manager, schedule a free demo with us. And we’ll deal with all the questions you might have.


