
In this article, you’ll learn:
Updated August 31, 2022
86% of businesses use videos as a part of their marketing strategy? Video is engaging content that’s easy to share across multiple channels. It’s easy to digest, entertaining and can give a huge return on investment (ROI) because you can repurpose it.
With the growing role of video marketing, teams produce more videos on a daily, weekly, and monthly basis. With the huge volume of these files, it becomes more and more problematic to find storage for them. That’s where cloud storage providers come in place. Today, we’ll compare the most popular cloud storage providers on the market and give you practical tips on video asset management in the cloud.
Why upload videos on the cloud?
With video becoming a powerful marketing strategy to increase leads and conversions, there appear tons of video hosting services. Lots of them are free so you don’t have to pay a penny to get started with a video library. Others are paid but offer broader functionality or more storage space.
The problem is that it’s very difficult to choose between so many video storage platforms. When you dive deeper into the research, you understand that each solution has its pros and cons, and there is no ideal storage for videos.
Still, the cloud is the best service to upload videos due to a number of reasons:
- There are no space limits there;
- It’s highly scalable;
- Videos are accessible online from any device;
- You can do real-time updates to video content;
- The team is protected from data loss.
That’s why in the next section, we’ll talk about the pros and cons of hosting videos on different cloud platforms and how to upload videos there.
Best video cloud storage
Google Drive
Google Drive is a top choice for many businesses, including video production agencies. Its ease of use, variety of integrations, and backup options are the main reasons why Google Drive ranks high in the cloud storage listing.
With 15 GB given for free, you won’t upload many high-resolution videos. But getting a paid pricing plan, you can buy any required amount of space.
Pros
- Easy-to-use interface
- Almost unlimited storage space
- Ability to run a video online
- Tons of integrations
- Backup services
Cons
- File size limits
- Privacy and security issues
- 5 TB per day limit
How to upload a video to Google Drive
1) Go to a Google Drive account and click New in the upper left corner. (Or you can right-click on any black space in the storage.)
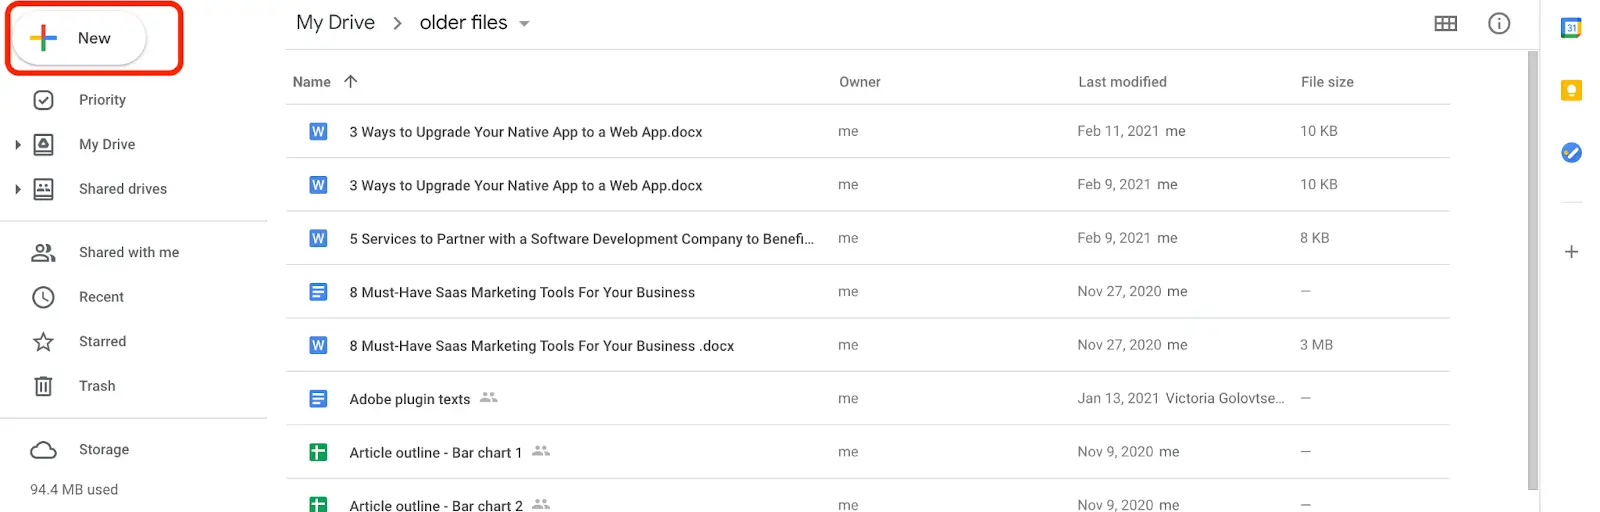
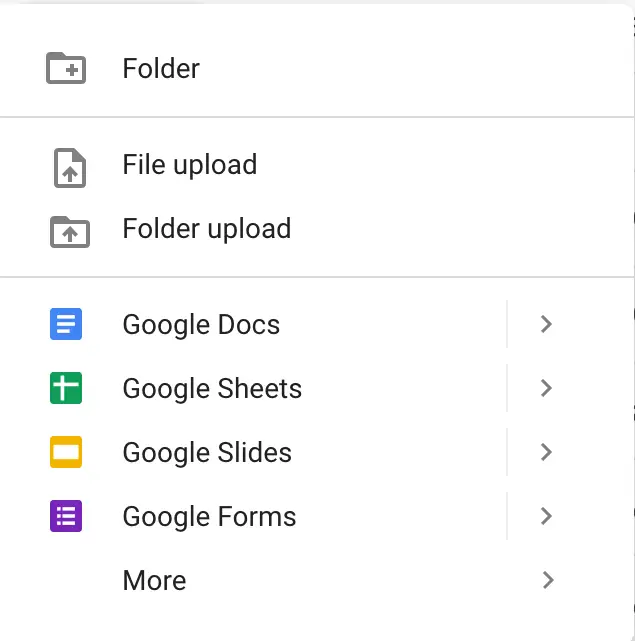
2) Click File upload and choose the video you’re going to upload.
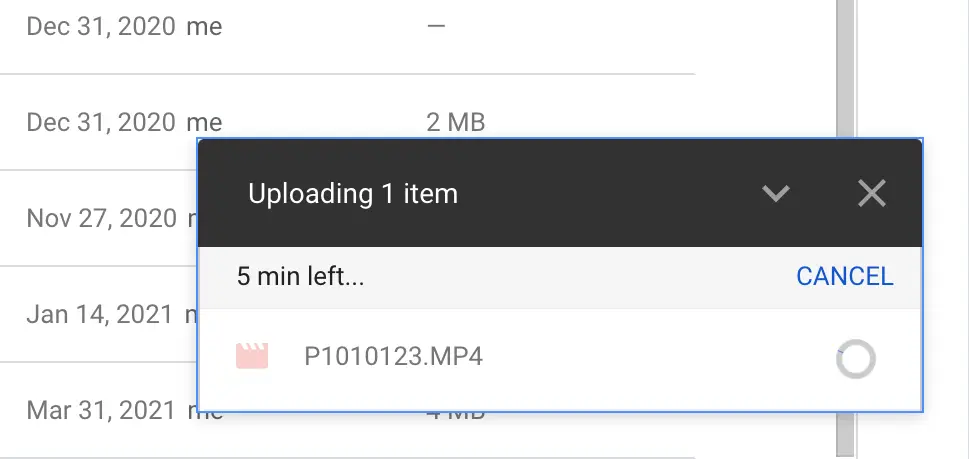
3) You’ll see the video uploading in the lower left corner of the screen. The larger the file, the more time it takes to upload a video to the cloud.
4) Once the video is uploaded, Google Drive will need some time to process the video. It’s easy to understand that Google Drive is still processing your file. You’ll get this warning every time you try to run the video:

5) Feel free to run the video once it’s ready.

NB: Read this post to get a few pro tips on uploading files to Google Drive.
Amazon S3
With Amazon S3 lifecycle policies, this cloud provider allows storing huge amounts of data at low costs. (Read more on Amazon vs. Google Drive pricing plans in this post). Besides, Amazon guarantees more durability and security to videos, protecting them from the network, power issues and hardware failures.
Pros
- Cost-effectiveness
- Durability, scalability, and security
- No file limits (but you’ll need to use an API for a video larger than 160 GB)
- Simple data migration
Cons
- Too technical for daily usage
- Pricing isn't straightforward (Space isn’t the only variable in Amazon S3 pricing. There is also the number of requests, accessibility, location, etc.)
- Not compatible with desktop
How to upload a video to Amazon S3
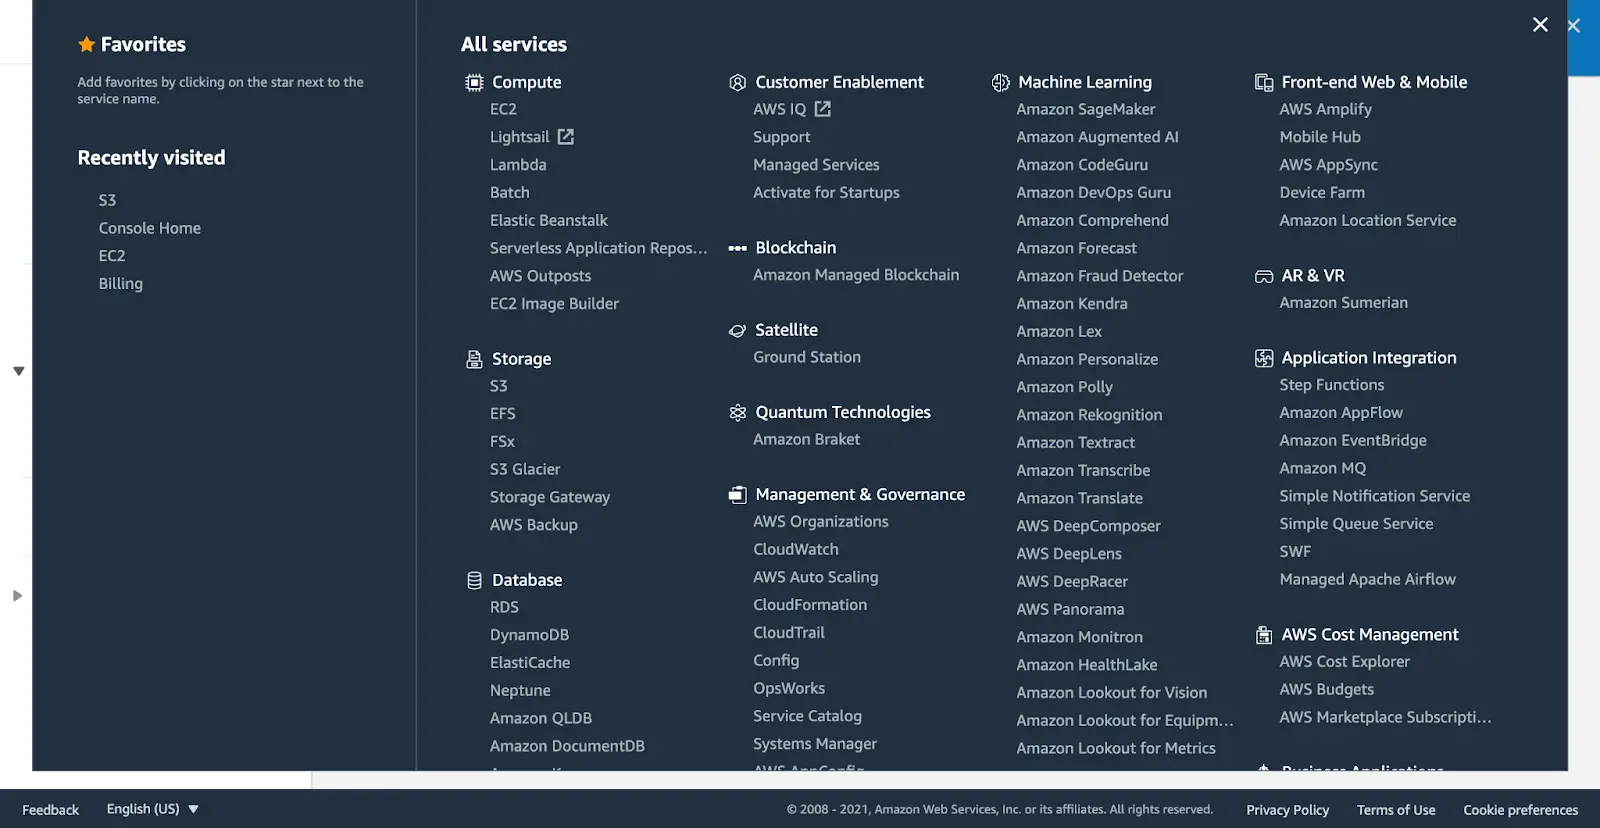
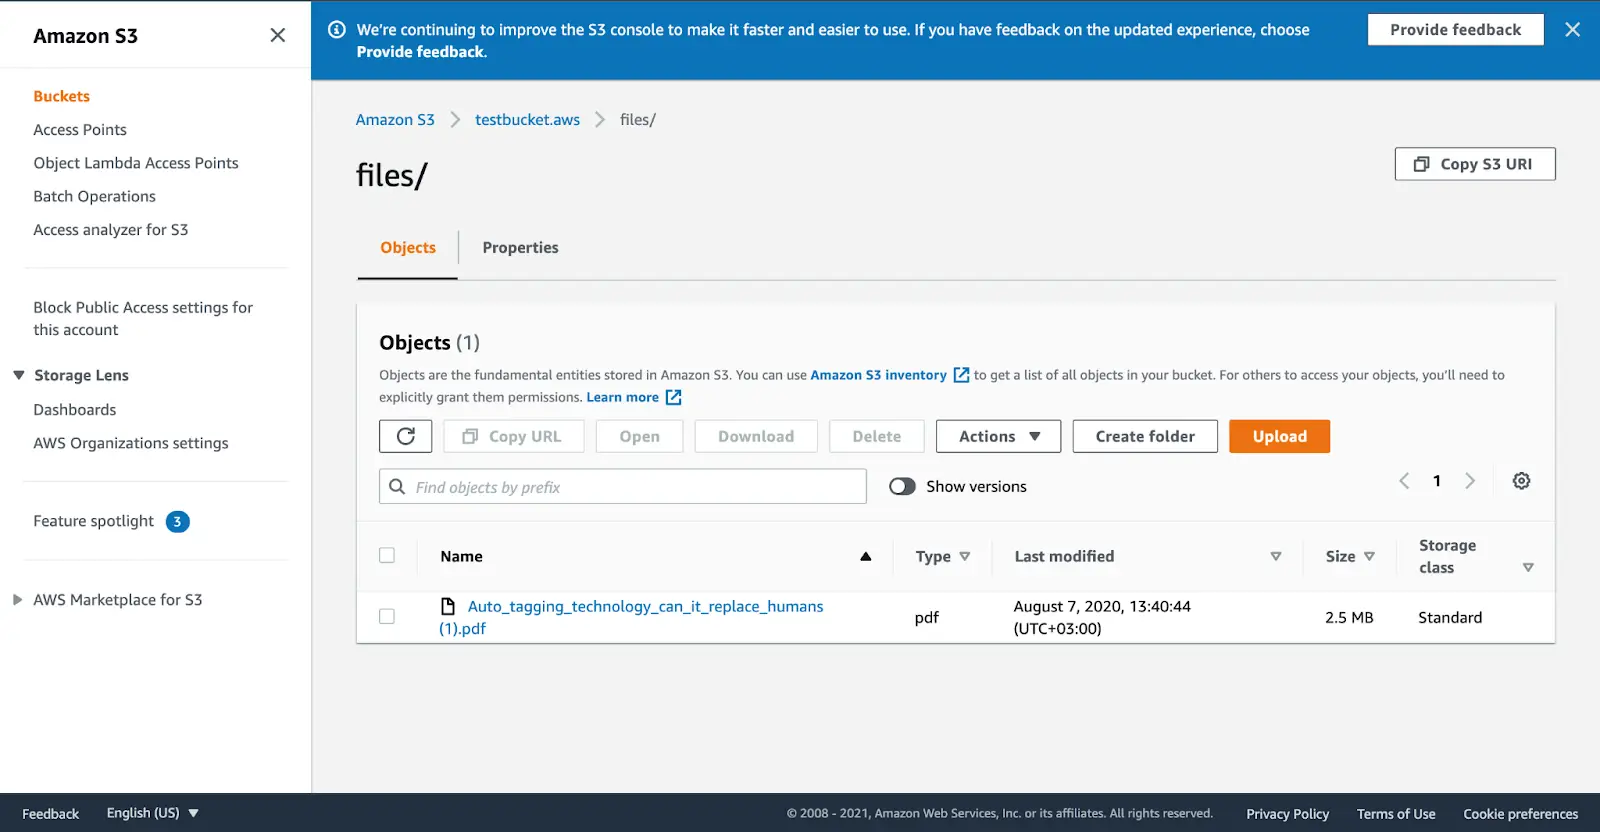
1) Sign in to the AWS Management Console and choose S3 storage.
2) Choose the S3 bucket where you want to upload the video (or create the new one). Also, choose the folder if any.
3) Press the Upload, click Add files, and choose the files you’re about to upload. Drag-n-drop also works perfectly in Amazon S3.
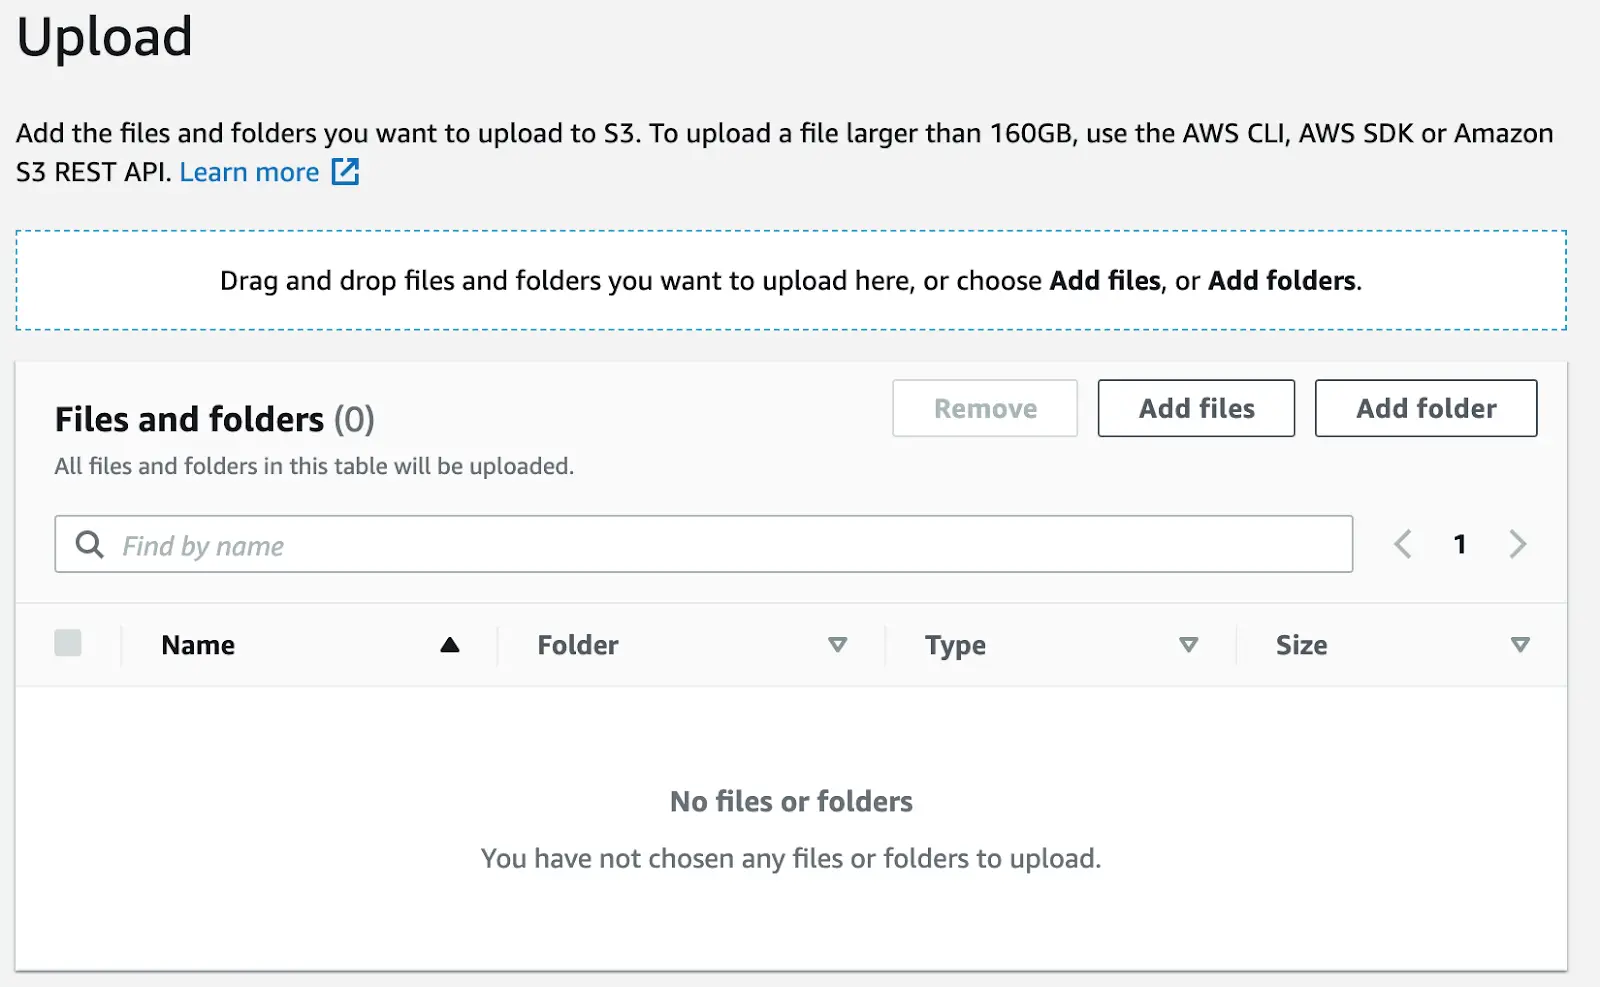
4) In the same window, you can set up permissions and properties for the video. (This post will tell you more about them.) Click the orange Upload button at the end of the page once you’re ready to proceed.
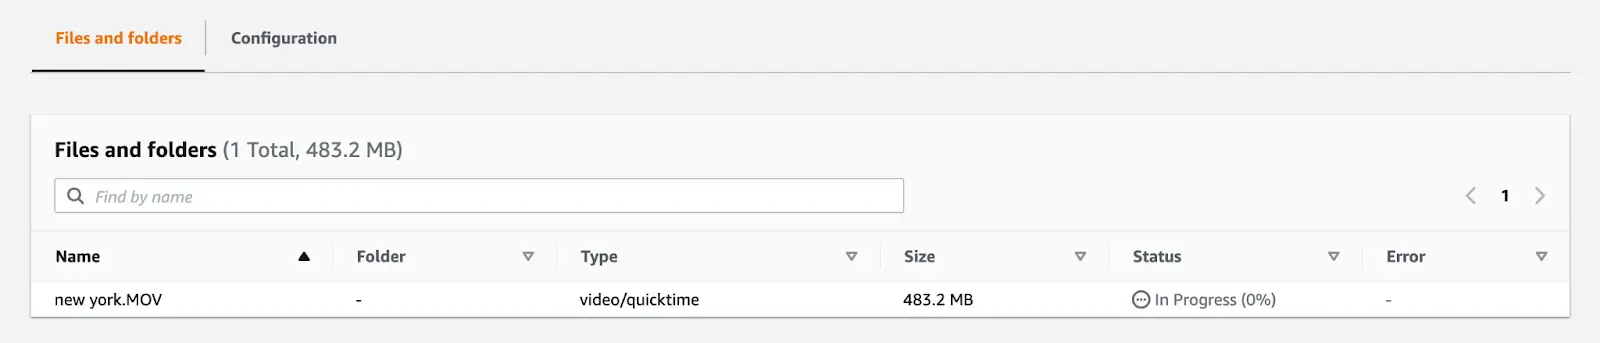
5) Like Google Drive, Amazon S3 allows you to track the upload progress of the video.
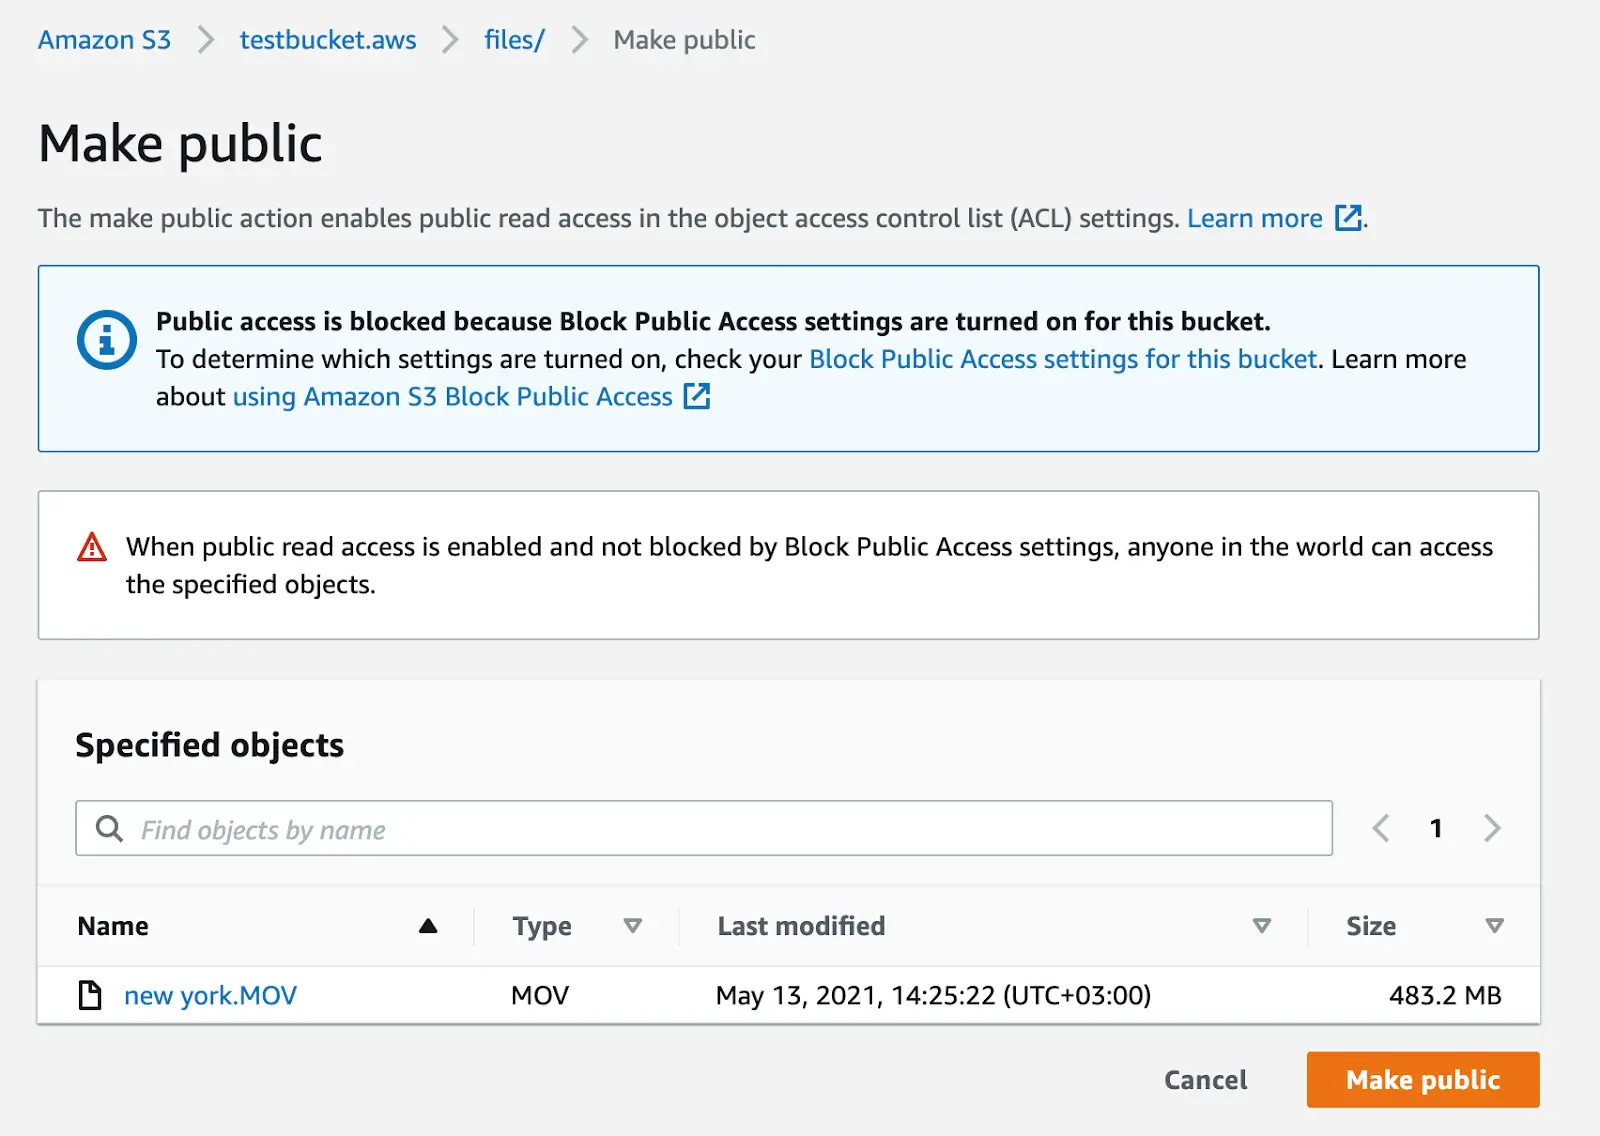
6) Running the video in S3 doesn’t go by default unless you make it public, raising security concerns. If you still need to play a video in AWS, go to object actions, select Make public, and you’ll be able to run the video.
OneDrive
OneDrive is known for its unique security features and workplace collaboration. One of the storage features is the ability to back up your media content automatically. Moreover, you’re able to view the videos from the file manager on your device.
Pros
- Privacy and security
- Files-on-demand (the feature that allows you to access videos from the desktop without actually storing them there)
- Mobile-friendly
Cons
- 50 GB maximum file size, which might not be enough for some professional video ads
- A limited number of third-party integrations
- Most features revolve around the document, not video storage
How to upload a video to OneDrive
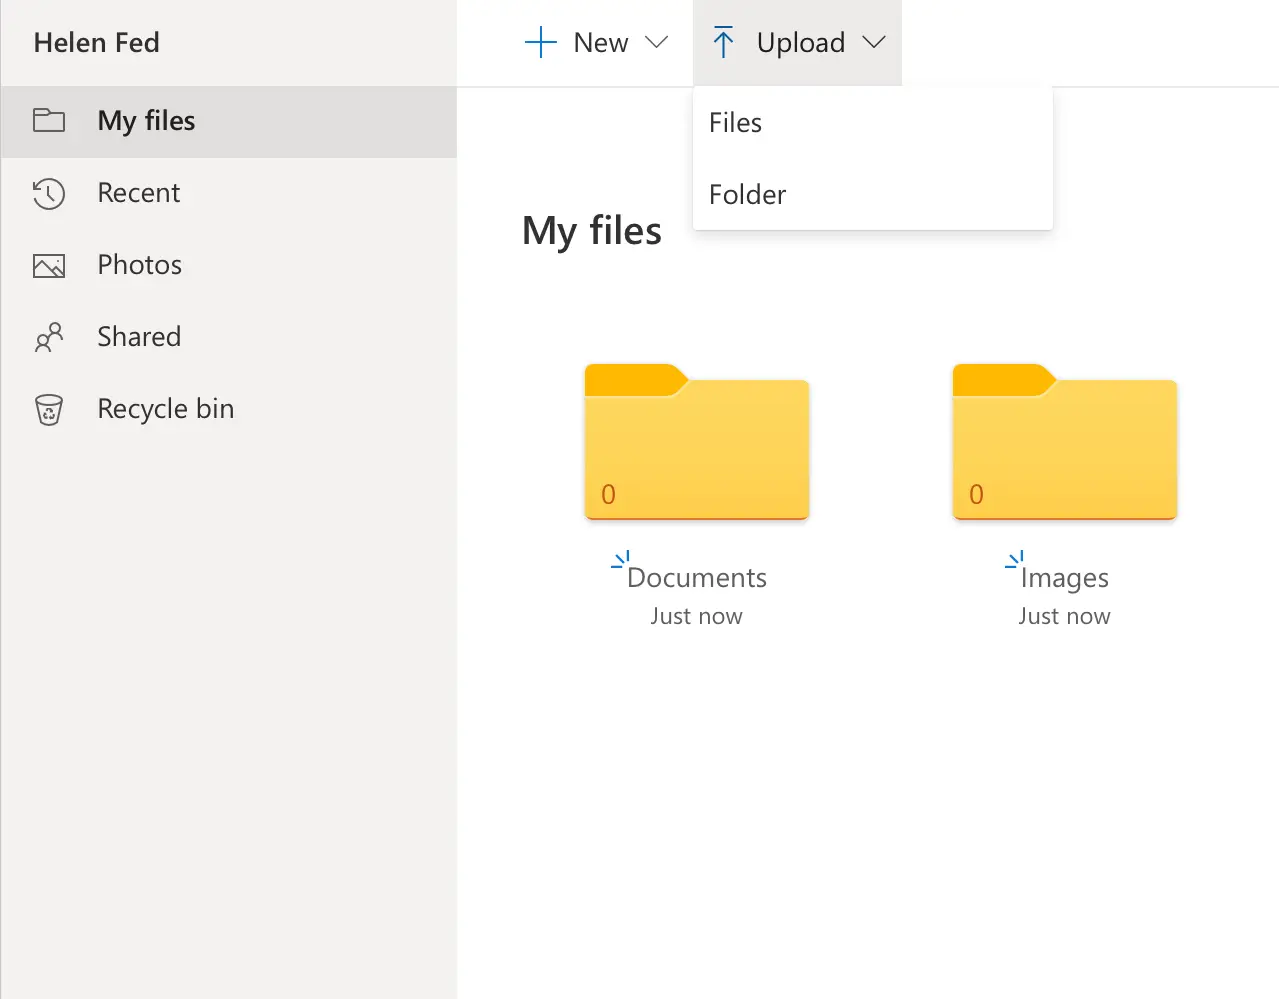
1) Open your OneDrive account and click the Upload button atop. Then choose Files.
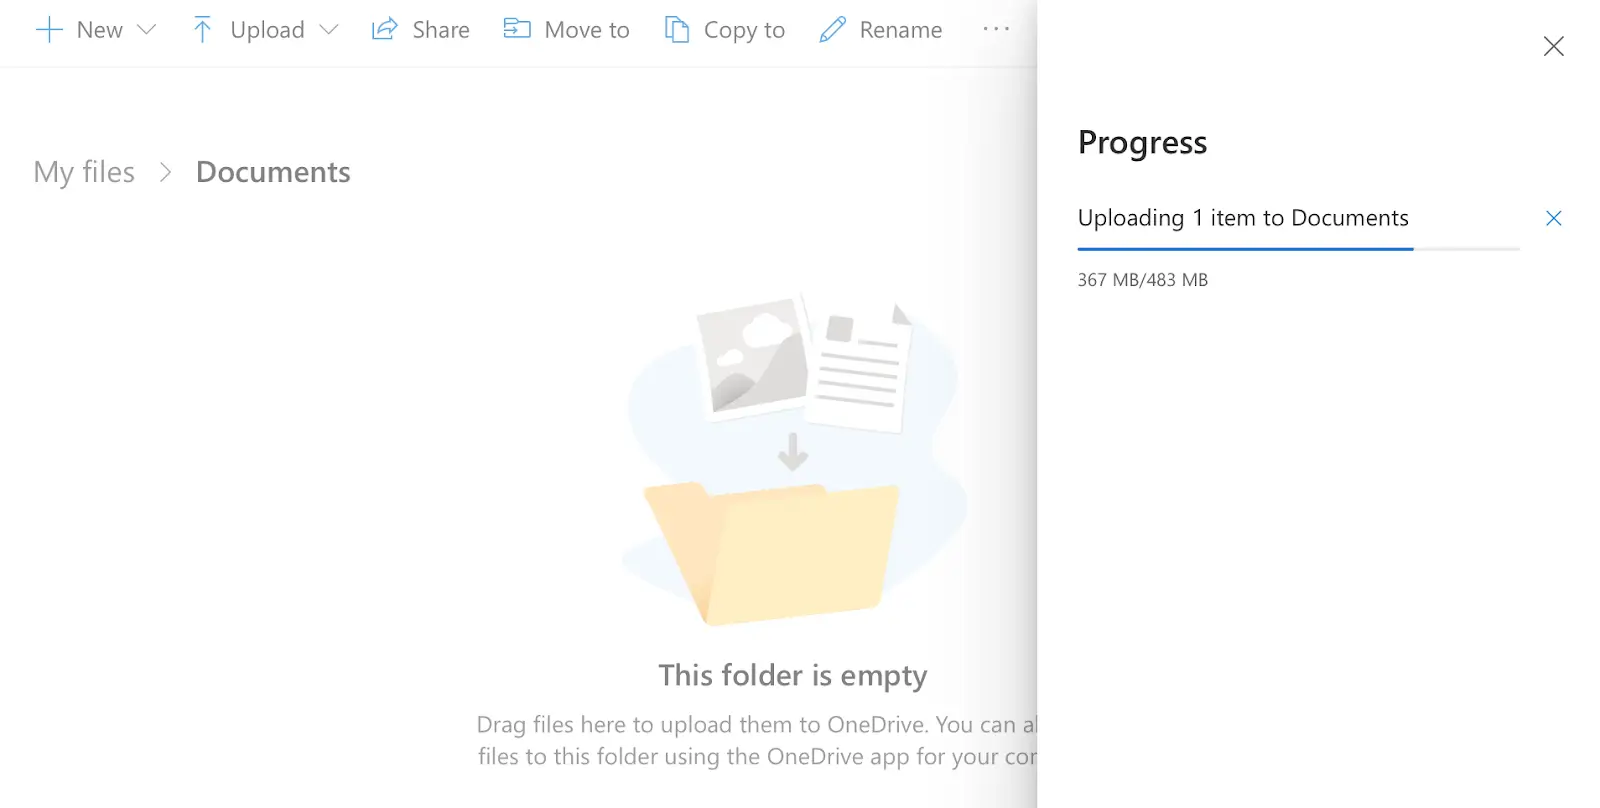
2) When you select the video you’d like to upload, you’ll see Uploading the file in the same place atop of the page.

3) Click on the words to see the progress of your upload in detail.
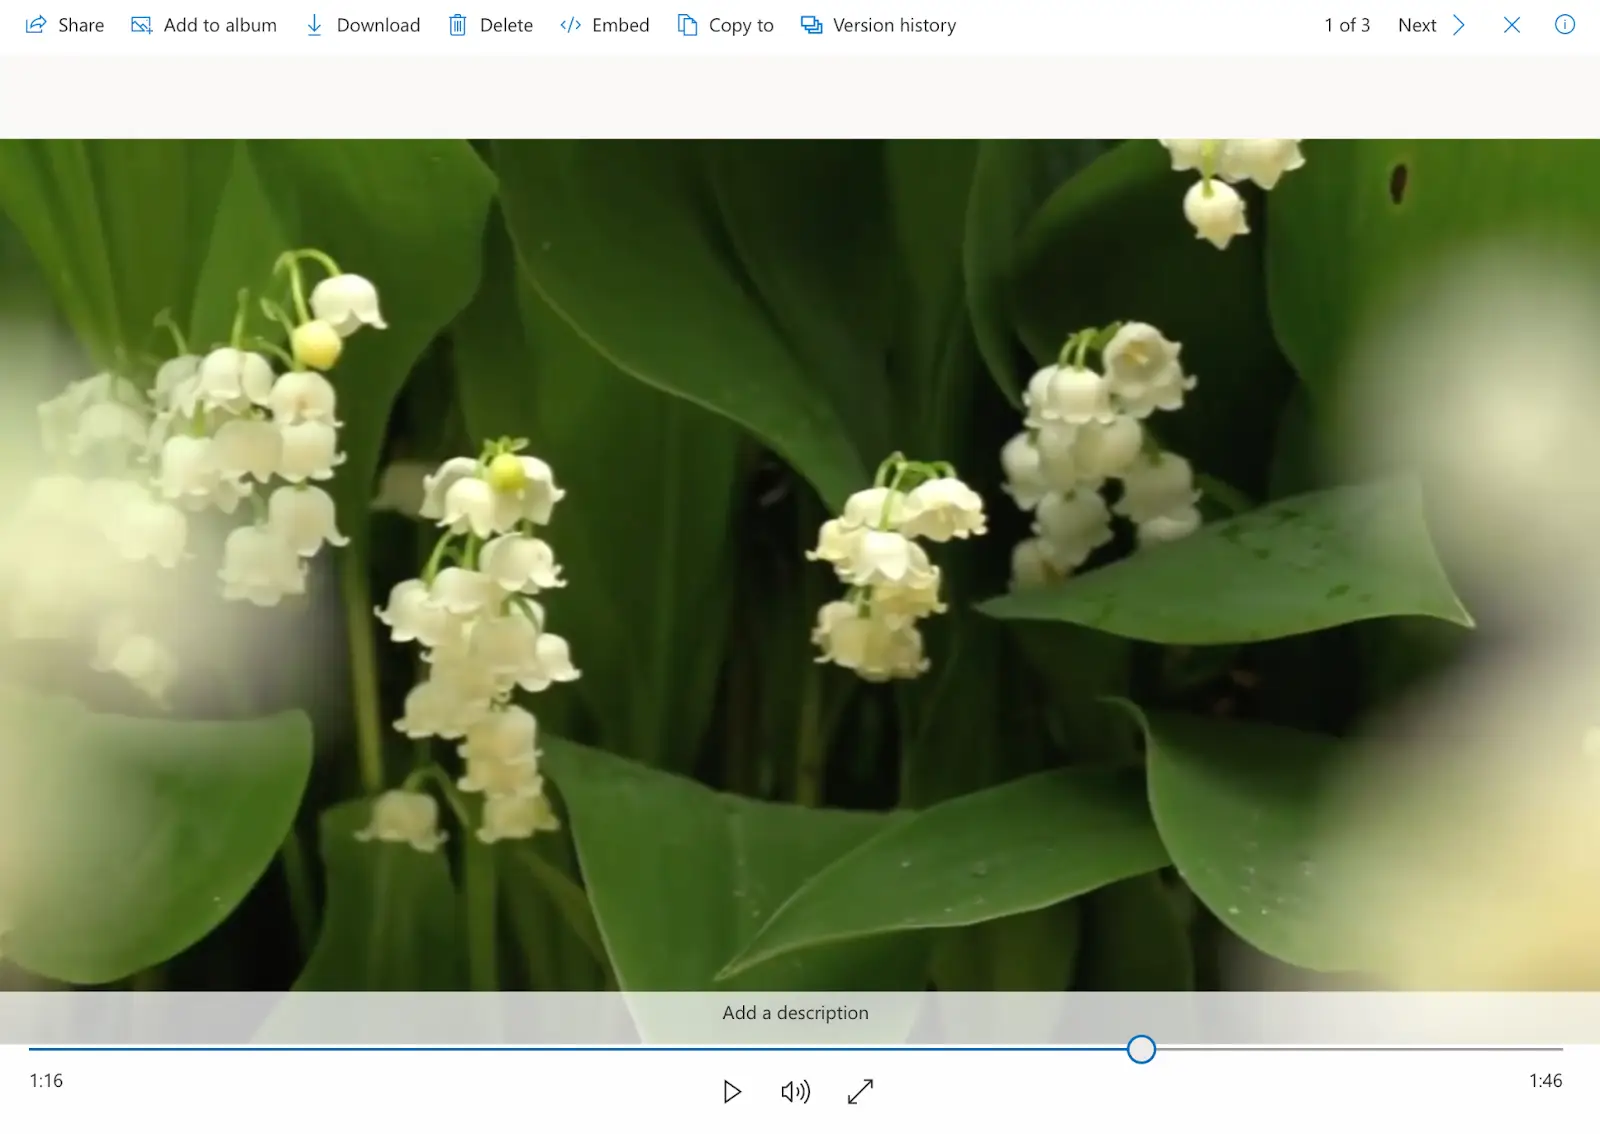
4) Once the file is uploaded, you’ll be informed and be able to run the video in OneDrive’s media player.
Dropbox
High performance and reliability are the perks delivered to Dropbox users. With its block-level sync, the storage uploads and downloads files much faster than other solutions in the market.
The storage also allows previewing the most common video formats. And you can even zoom the video content if needed.
Coupler.io believes that Dropbox is a secure and trusted cloud service for storing and managing video content. Dropbox uses the 256-bit Advanced Encryption Standard (AES). This encryption supports the largest bit size key length and is unbreakable with current computing power. You can read more about their thoughts on Dropbox security.
Pros
- Performance and high speed
- Reliability
- Sharing long videos without compromising quality
- Support of most common video formats
Cons
- Security issues
- High prices
- 50 GB file size limit
How to upload a video to Dropbox
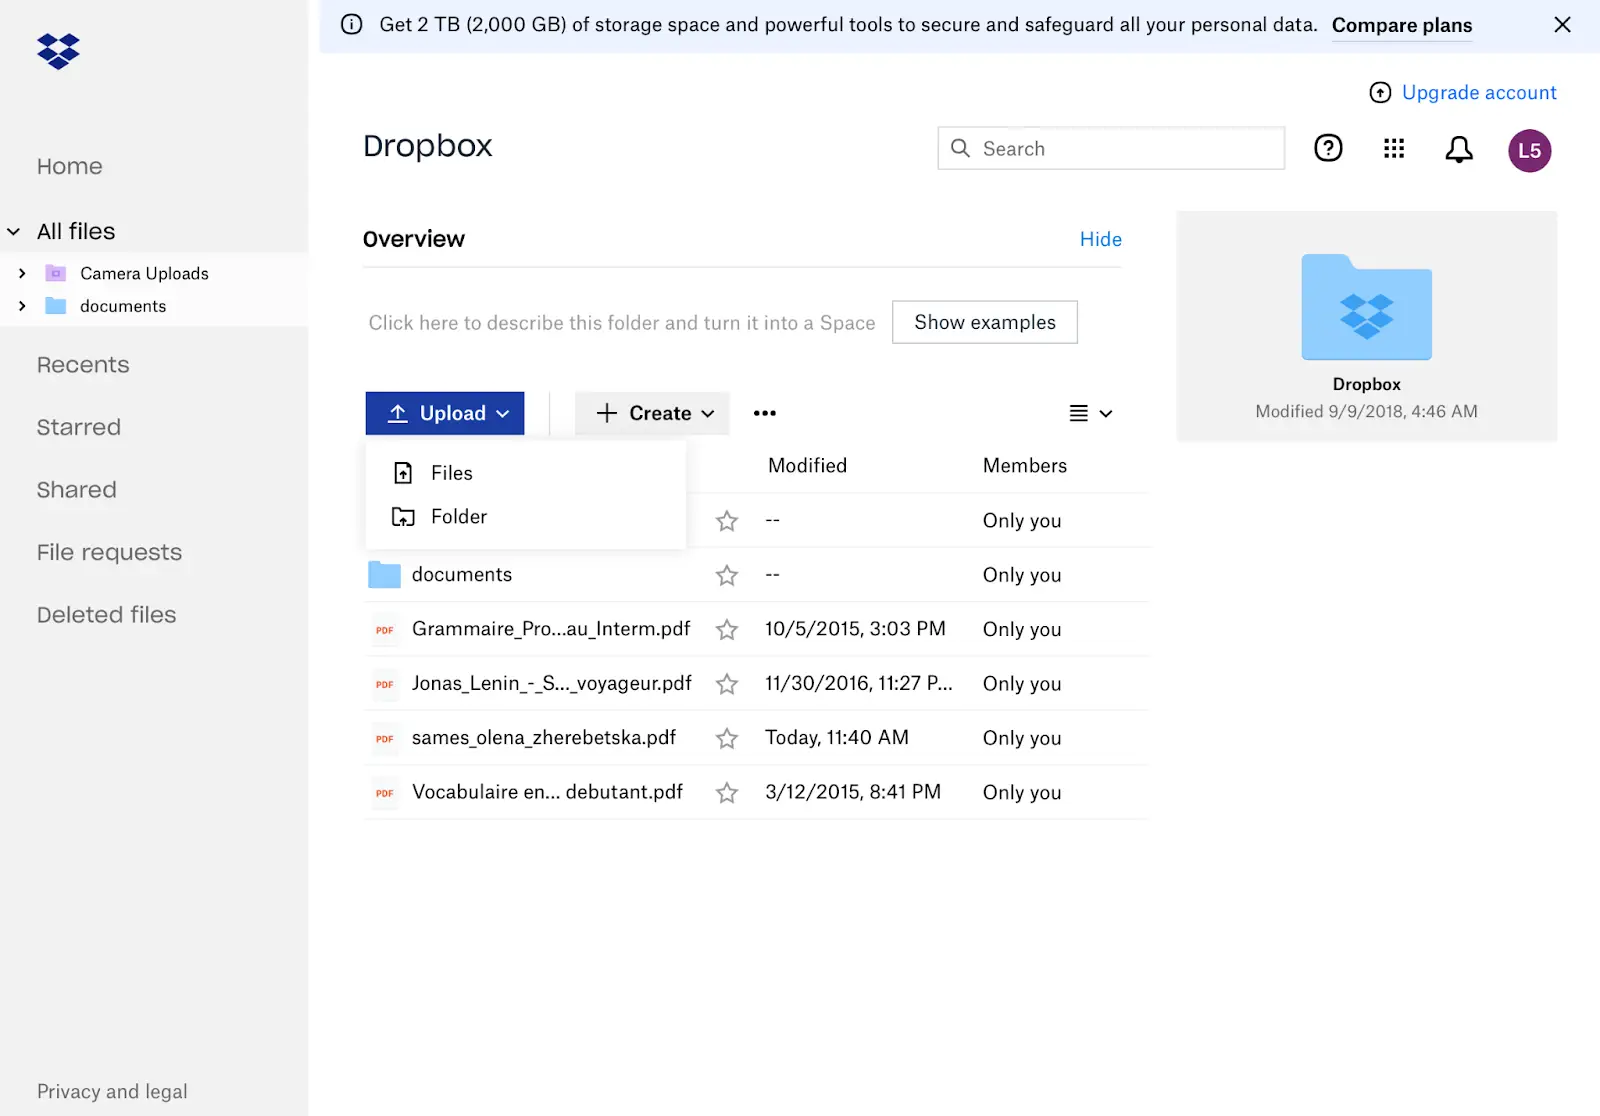
1) Open a Dropbox account. Click the blue Upload button, then Files to be able to upload a video to the cloud storage. As usual, you can drag-n-drop the files.
2) When you choose the video for upload, you can track its progress at the end of the page. Once uploaded, you’ll get a notification.

3) Open the video to play it.
pCloud
Unlike other cloud services, pCloud is specifically optimized for video storage. Here you can compress video files, customize automatic uploads, and create archives for outdated content.
Working as a virtual drive app, pCloud lets you access the storage without taking space on the hard drive.
Pros
- Tons of features aimed at video storage
- A media player that works well both for the desktop and mobile versions
- No limit on file sizes (!)
- Easy access from a local computer
Cons
- Low upload and download speeds
- Encryption at extra costs and, thus, security at risk
- Only 10 GB delivered for free
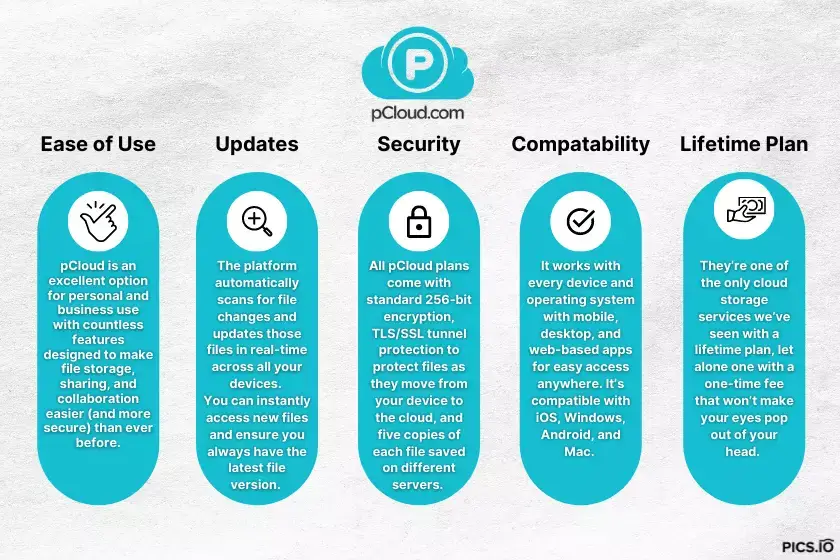
Also, our friends Crazy Egg have kindly provided us with this neat infographic that briefly describes all of the pCloud's benefits. If you'd like to learn more, make sure to read their in-depth post on the best cloud storage options.
How to upload a video to pCloud
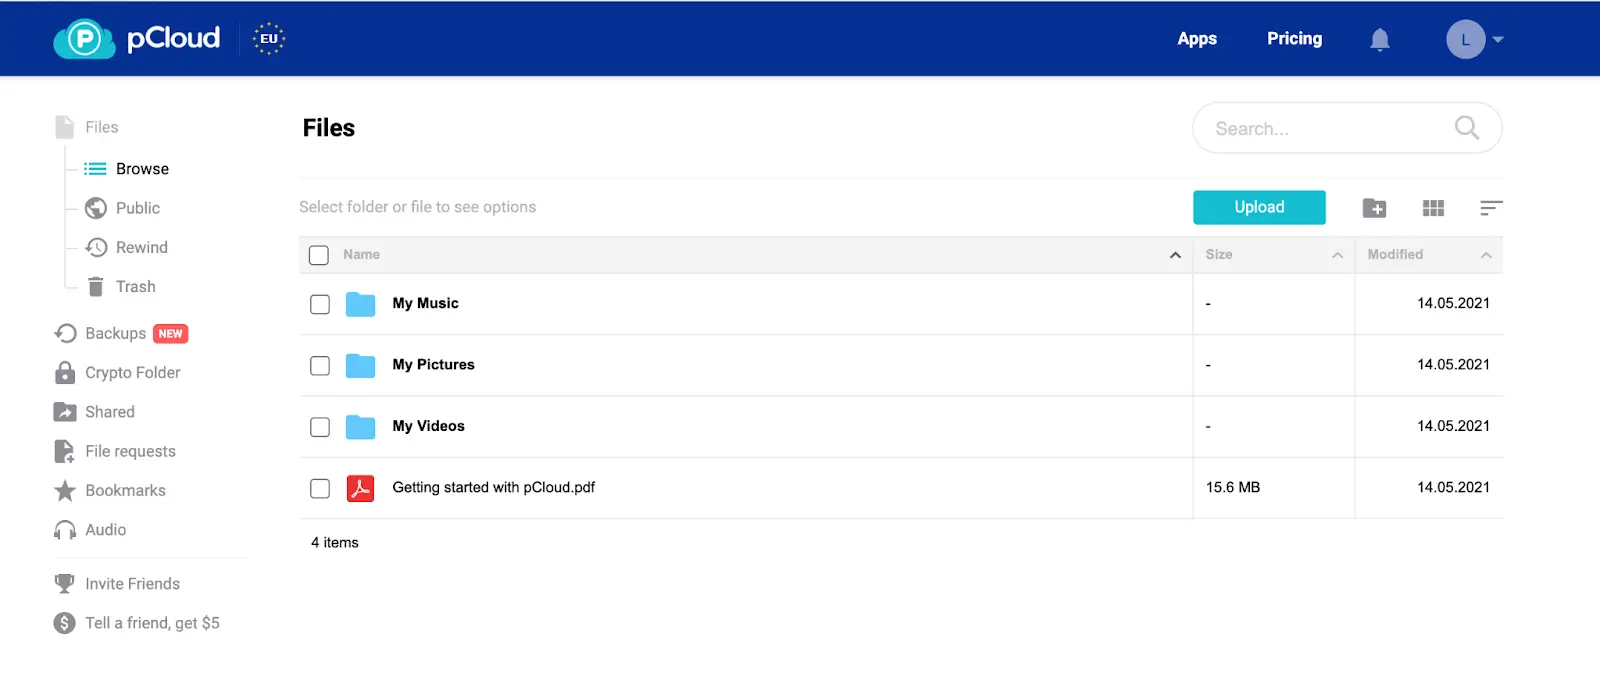
1) Open an account at pCloud and click the Upload button in the right upper corner. (You can drag-n-drop the files into this cloud too.)
2) You’ll be automatically transferred to the upload manager. Choose File Upload, then Browse For Files. The next step is to choose the video you want to upload.
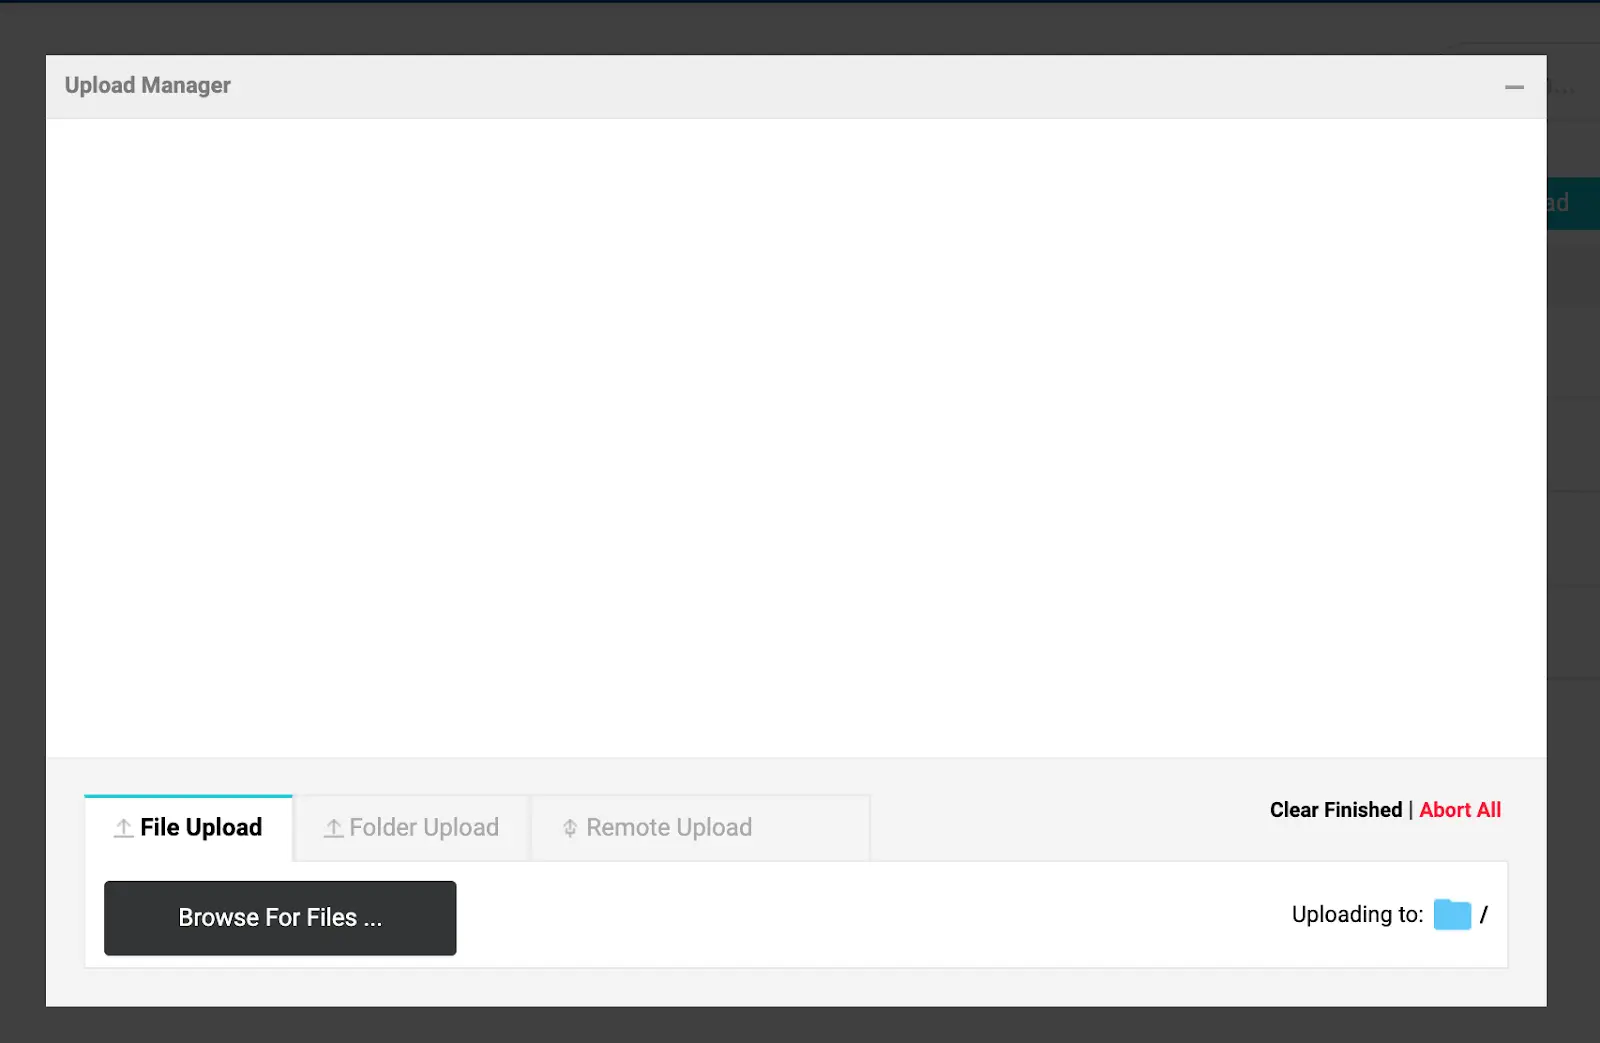
3) In the same window, you can track the upload process to the cloud.
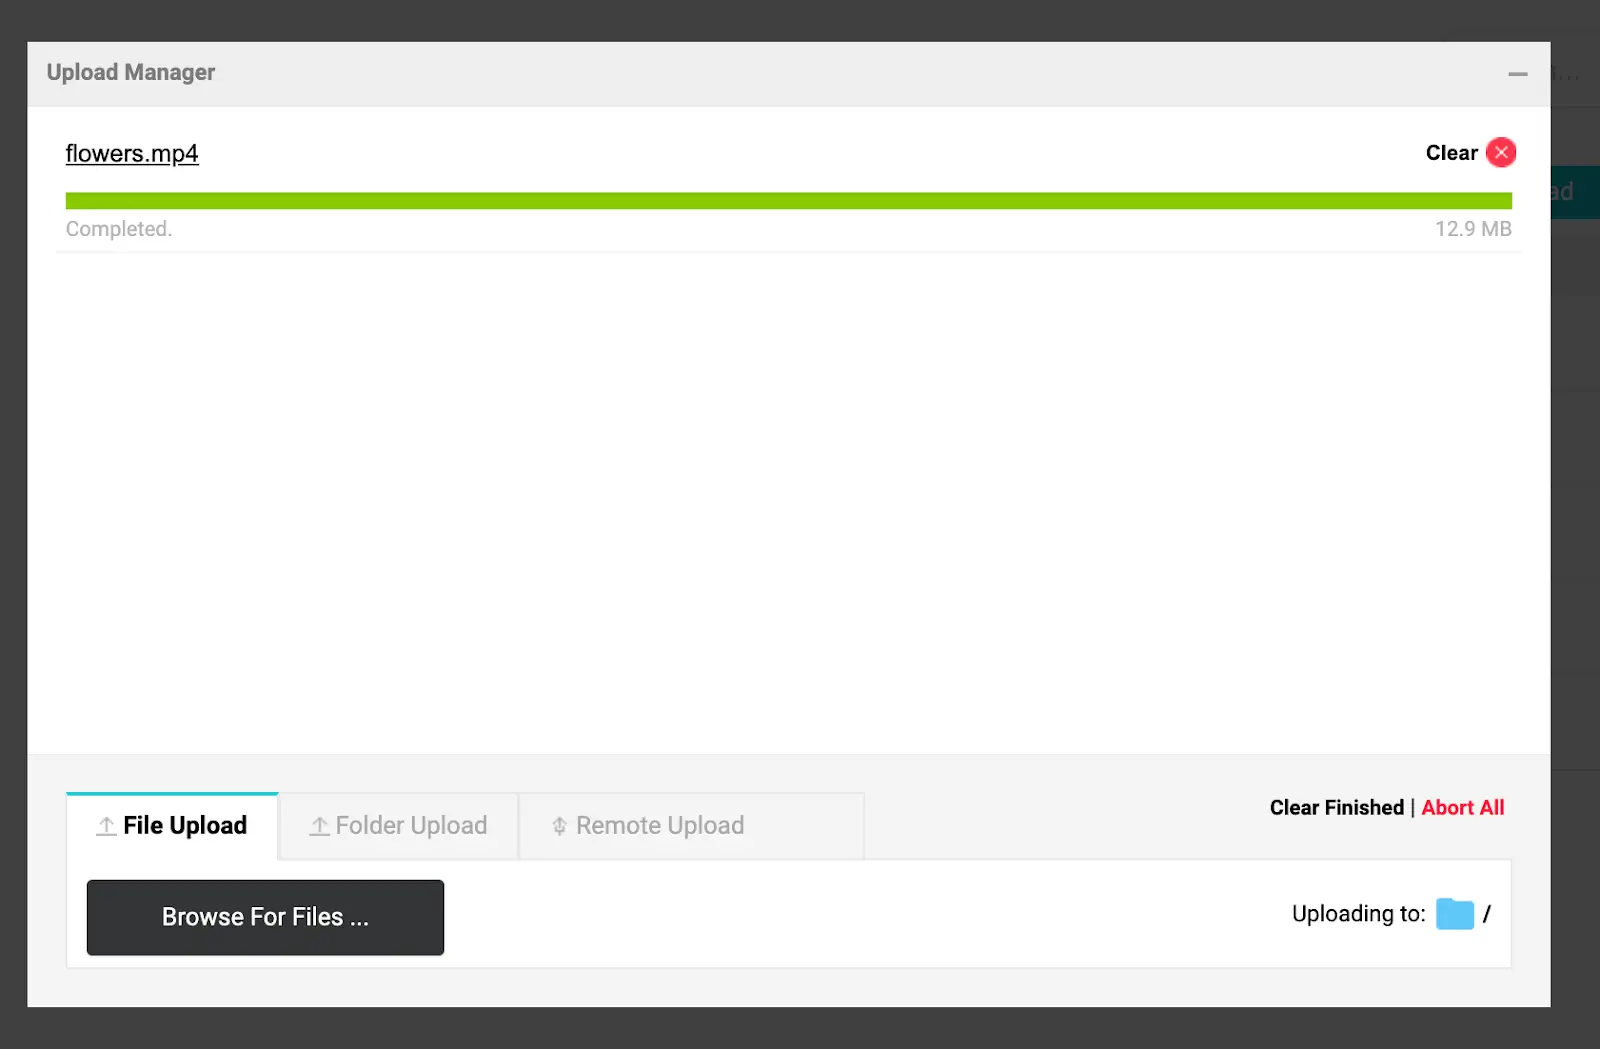
4) Once the file is uploaded, you’re welcome to run the video.

Use DAM to Manage Videos Productively
Whichever cloud service you choose, all five options are suitable for storing videos. Unfortunately, you would not be able to effectively collaborate on your videos, manage the multiple versions of the same file or share them with multiple teams. The cloud storages are not perfect for file management and that’s where Video Asset Management can become your savior.
Pics.io is one of the best tools to manage your videos, and it has an option to work on top of your cloud storage (or you can use it as an all-in-one DAM).
Here are some of the powerful DAM features, enriching video asset management in your organization:
- Get a centralized place to store your videos, search & access them easily;
- Organize the video content in collections, assign metadata, and write explicit descriptions;
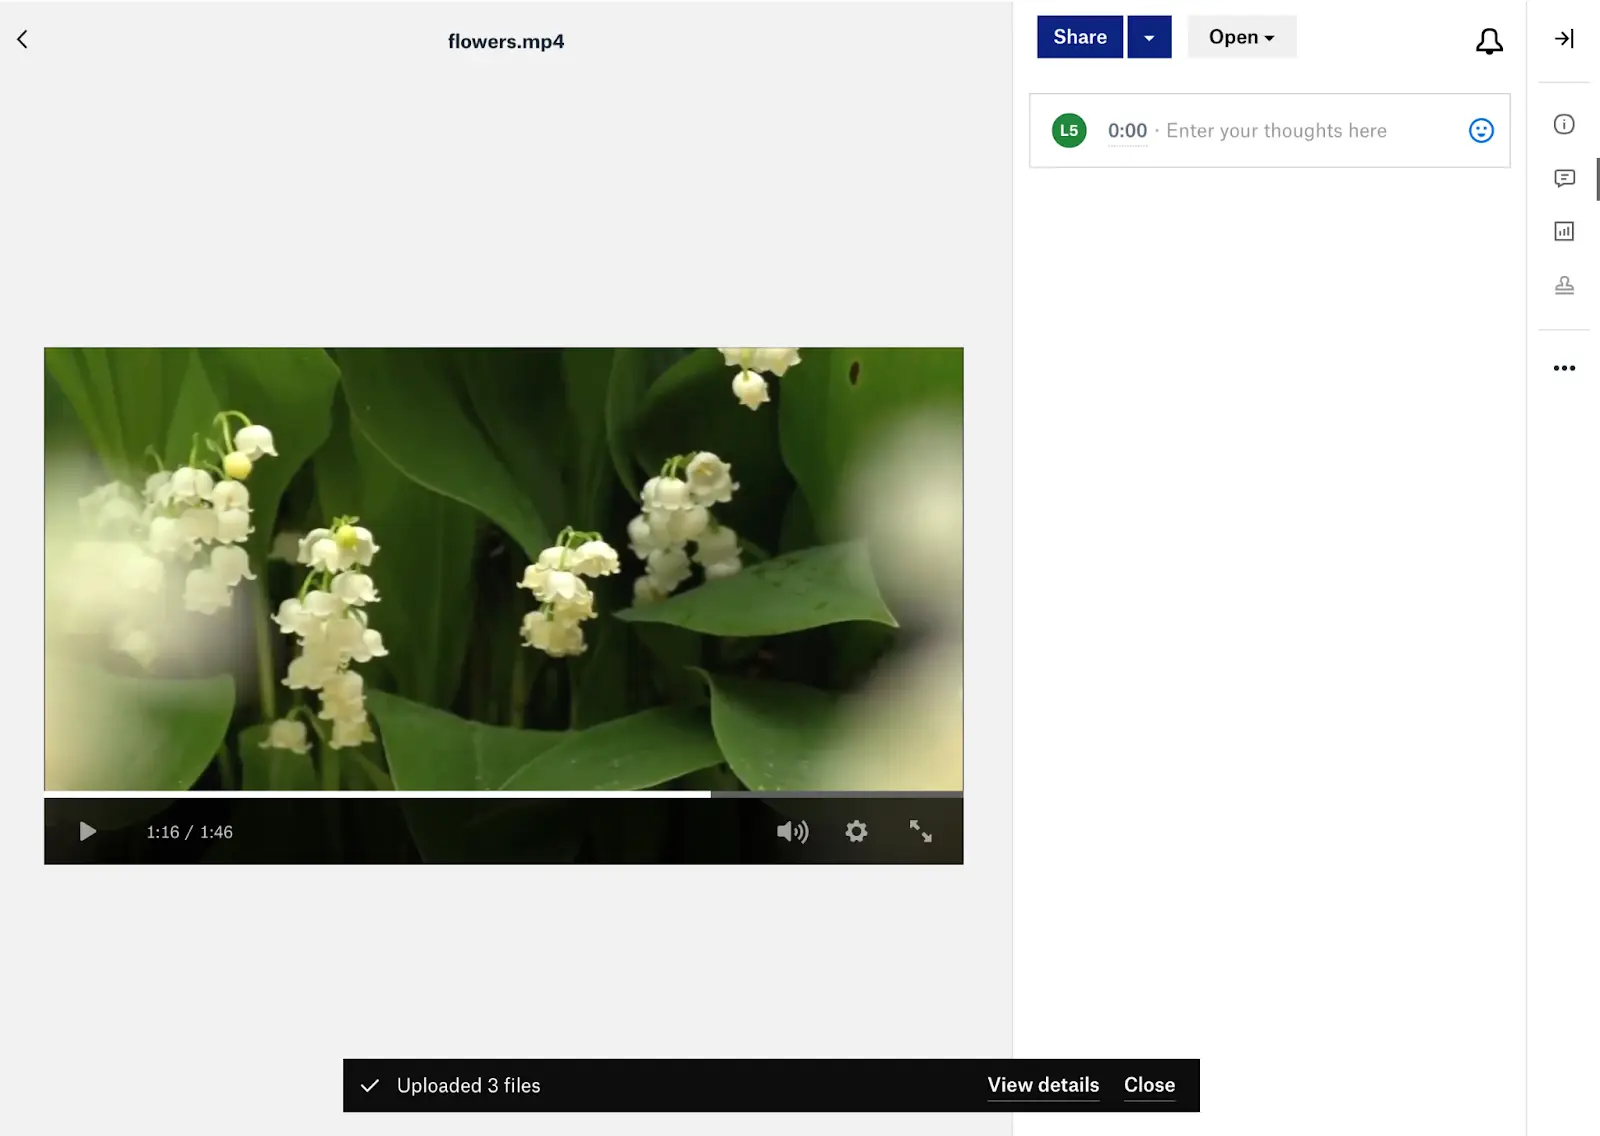
- Run videos in a powerful multi format video player, allowing you to create custom thumbnails, take snapshots, and cut a video into pieces;
- Collaborate with the team on videos, assigning some content to them, tagging them under videos, and leaving timestamps to promote discussions;
- Keep all video revisions in one place, run and compare two versions side by side;
- Share videos outside the team easily and receive any third-party content without extra effort;
- Access and edit videos in your favorite Adobe tools and then save them back to DAM. (And if these are petty changes like improving the colors or compressing the file, you can always use a Pics.io in-built editor.)
Pairing cloud storage with Pics.io DAM now also unlocks AI-powered insights for your videos. With Video Intelligence, you’re not just safely storing large files — you’re turning that raw footage into a searchable knowledge base, where every important moment can be found in seconds.
With marketing videos growing in scope and volume, it’s high time to choose the right cloud storage for saving and organizing them. Here an effective digital asset management solution like Pics.io is a perfect solution to never allow the mess in your video library again.
With marketing videos growing in scope and volume, it’s high time to choose the right cloud storage for saving and organizing them. Here an effective digital asset management solution like Pics.io is a perfect solution to never allow the mess in your video library again.
Ready to give a try to our innovative Digital Asset Management? Start a free trial with Pics.io and check its video asset management features. Still, wonder what tool to use to manage your videos? Here is a good tool review for you.


